RG35xx Starter Guide
The RG35xx is Anbernic’s answer to the widely successful Miyoo Mini. The RG35xx covers the cheap, ultra portable segment of the retro handheld gaming market and is capable of emulating systems up to the PS1 era.
In this RG35xx starter guide, I will show you how to get started with your new device as well as point you to some of the resources that you’ll need to get the most out of your new handheld.
If you are looking for a Starter Guide on the RG35XX H or RG35XX Pro, check out my other guide here
Where to buy the RG35xx
Getting to know your RG35xx
The RG35xx is a reasonably priced compact retro handheld device which is capable of emulating up to the PS1 era games.
With a 4:3 aspect ratio screen, it is a good fit for emulating the original home console systems like the NES, Sega Genesis, SNES and PS1. With its small form factor it also replicates the feeling of playing those old school handhelds like the original Gameboy or Gameboy colour and emulates these and other handheld devices including GBA and GameGear with ease.
The RG35xx features two SD card slots with the first (labelled TF1) being used for the firmware (operating system) and the second (labelled TF2) being used for games.
Depending on the package that you purchased, your device may have only included a single SD card in the TF1 slot that includes both the firmware and the games. A two SD card setup is completely optional but highly recommended.
The advantage of using a two SD card setup is that you have your firmware separated from your games so that if you lose one of the SD cards due to corruption or failure, you don’t lose everything.
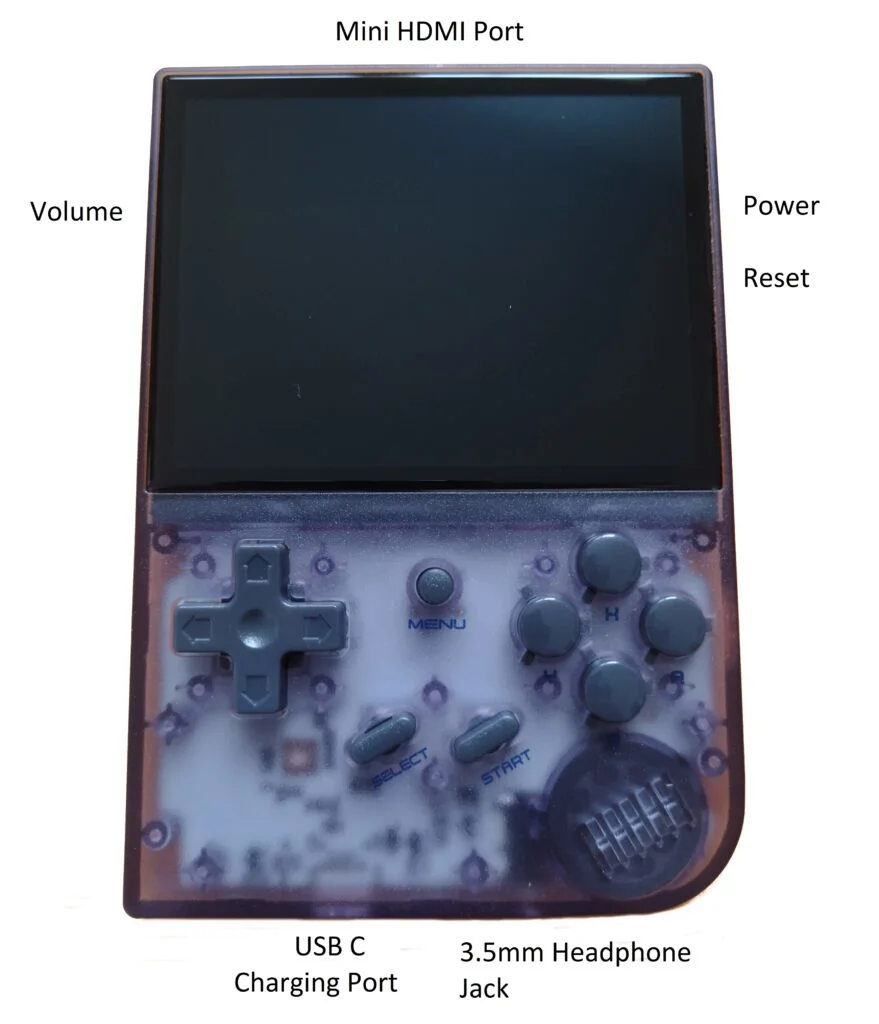
The RG35xx also includes the power button on the right hand side along with a small reset button just below it. On the left side of the device is your volume keys.
Along the top of the device is the mini HDMI out port and along the bottom is the USB C charging port and the 3.5mm headphone jack.
The RG35xx supports any charger with a 5V output. The device will only ever pull the current that it needs from the charging block so any higher than 1.5A (@5V = 7 watts) is not used and any lower will just result in a slower charging time.
Replace the stock SD card
Like all retro handheld devices shipped out of China, the microSD cards that come included with the RG35xx is a cheap generic cards that is prone to failure. If you plan to do no other upgrades on your device, at the very least I would recommend replacing the stock microSD cards with a higher quality name brand card. Here are a few of my recommendations
You can simply clone the stock microSD card onto a brand name card of the same size using a tool like BalenaEtcher. If you don’t have two SD card ports on your computer, something like this dual SD card reader works great for accessing two SD cards at the same time
RG35xx Games and Bios Files
The games that are provided with the stock SD card, regardless of the package that you opted for, are okay at best but you’ll notice some very notable omissions from the Nintendo based consoles.
Additionally, the naming convention on the stock SD card is very strange and makes it quite difficult to find any of the games that you are looking for as they are not in alphabetical order as they are named with number prefix for some reason.
How to add games to the RG35xx
One thing you can do before your device even arrives is to curate your ROM set for all of the games that you want to include on the device. Keep in mind that the device will only play games up to the PS1 era.
If you are looking for a great curated set for the RG35xx, try to find the “Tiny Best Set GO” curated collection.
Emulating home and handheld consoles isn’t the only way to play games on the RG35xx. Check out my RG35xx Ports Installation Guide to see how to add PC and fan made games as well.
To add games to your RG35xx you’ll want to remove the microSD card from the TF1 slot (or TF2 slot if you are using a two card setup) and insert it into your computer. If you need an SD card reader, this dual SD card reader works great.
Each firmware is going to be slightly different in it’s setup, but in general, the microSD card is formatted into a number of different partitions. Some of these partitions cannot be read by Windows so if prompted, be sure to say that you DO NOT WISH TO FORMAT THE DRIVE.
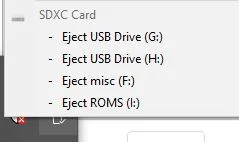
Look for the partition labelled ROMS and you will generally find a ROMS folder on that drive. The ROMS folder will contain a number of subfolders, each named for one of the systems that can be emulated by the RG35xx (for example NES, SNES, or PS1).
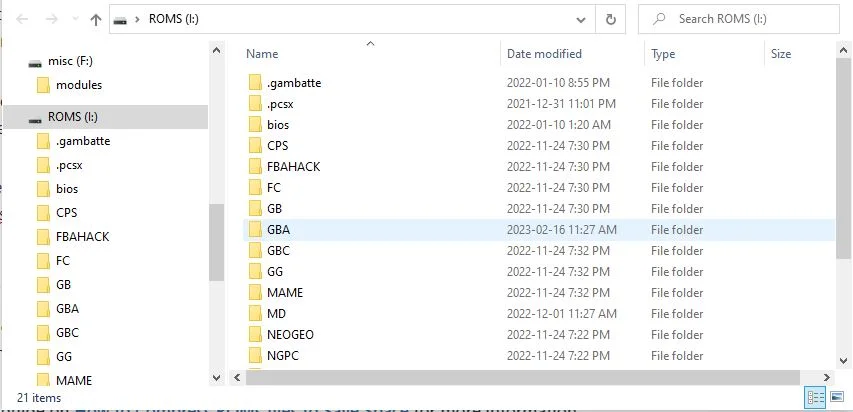
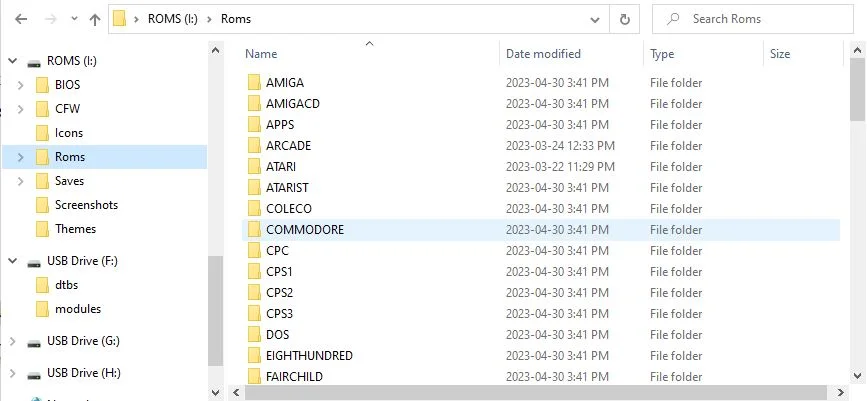
You will need to copy your ROM files over to the SD card into the appropriate folder that matches the system that the game belongs to.
Once you have moved your files, be sure to safely eject the SD card then insert it back into the device. Most firmwares will read the new games automatically when it boots up.
Compress your ROMS to save space
For the most part, a 64GB SD card will be more then enough space to fit more games than you could possibly play, however, you can also compress your ROMs to fit even more games onto your device.
Check out my guide on How to Compress ROMs files to Save Space for more information
Compressing your ROMS is going to be especially useful for PS1 games as you can save space and clean up your files by formatting the games into CHD files.
In the above linked guide, you will also find useful information on combining multi-disk games from the Playstation console into a single PBP file for easier ROM management.
What BIOS files are needed for the RG35xx
Some of the game consoles that the RG35xx can emulate also require BIOS files to run or at least to show the boot logo if you want a more authentic experience.
Here is a list of the BIOS files that you’ll need for those consoles
| Game Console | BIOS File |
|---|---|
| Sega CD | bios_CD_E.bin, bios_CD_J.bin, bios_CD_U.bin |
| Famicom Disk System | disksys.rom |
| Game Boy | gb_bios.bin |
| Game Boy Color | gbc_bios.bin |
| Game Boy Advance | gba_bios.bin |
| NEO GEO | neogeo.zip |
| Playstation | scph5501.bin |
| TurboGrafx-CD | syscard1.pce, syscard2.pce, syscard3.pce |
Game Bios files can all be placed on the SD card in the ROMS partition under the ROMS/BIOS folder
Custom Firmware for the RG35xx
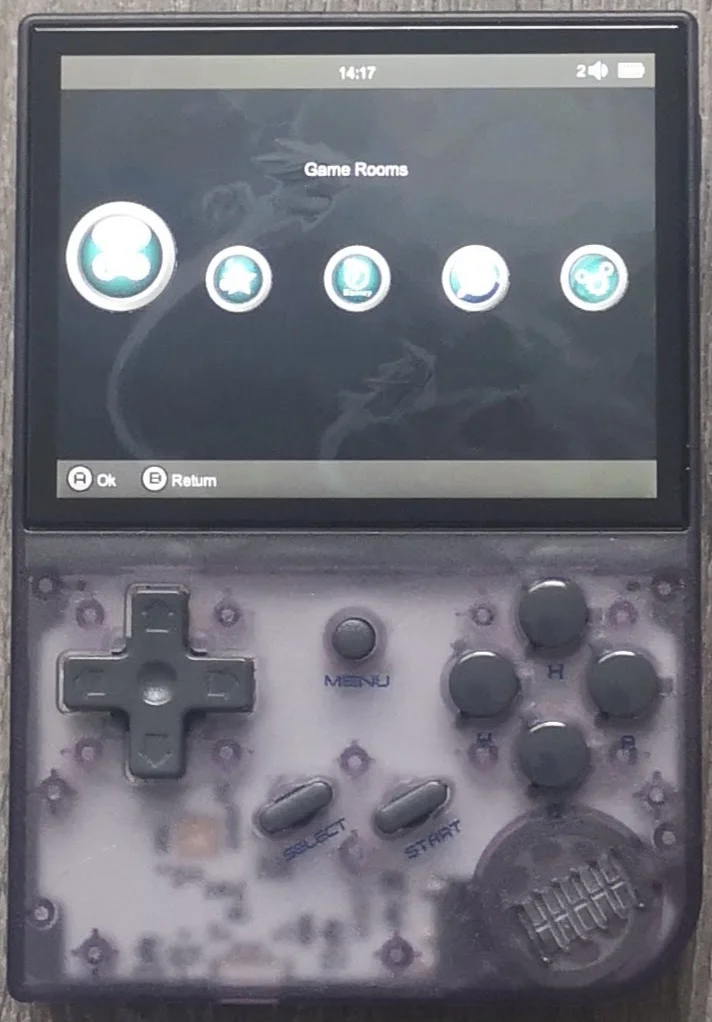
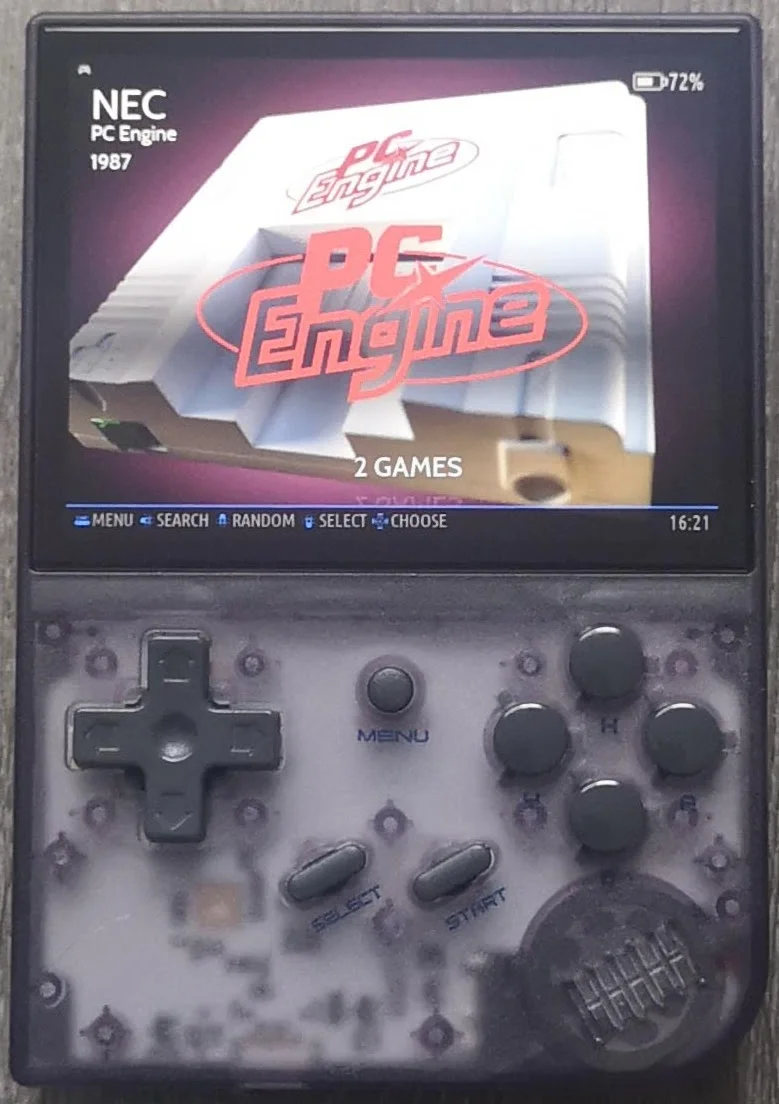
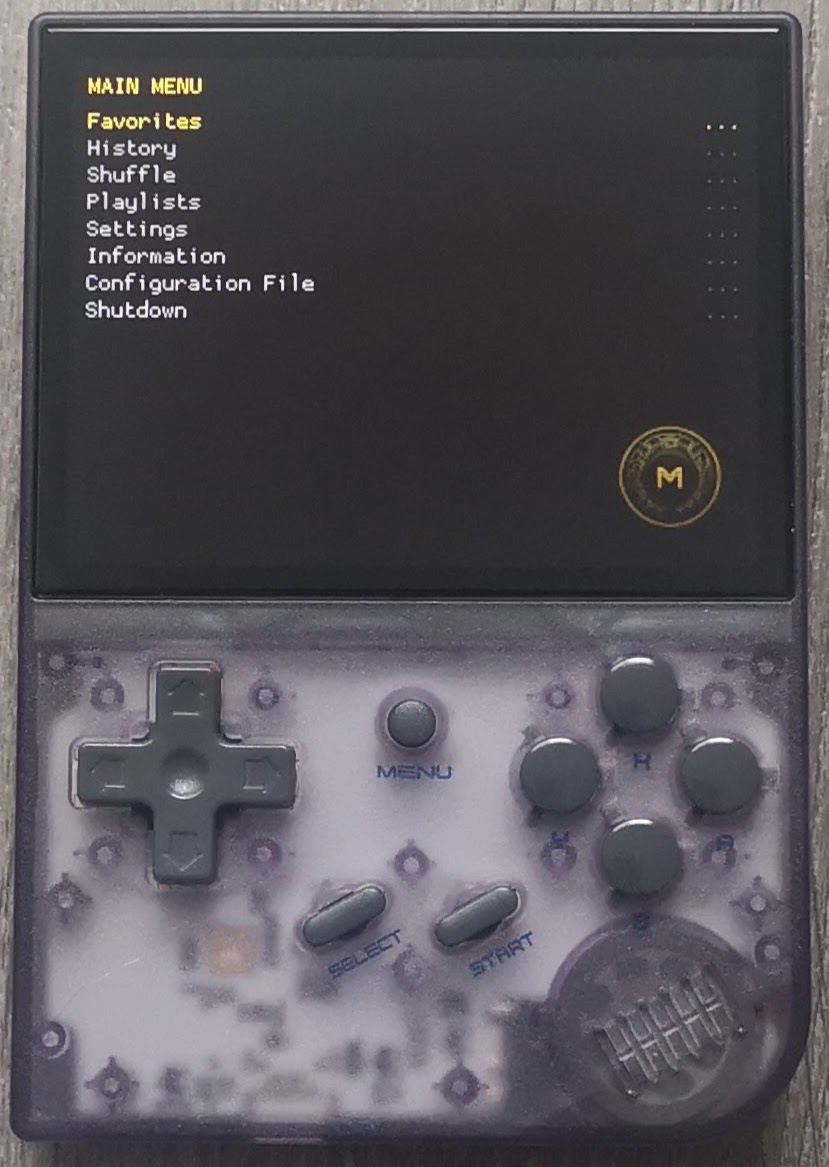
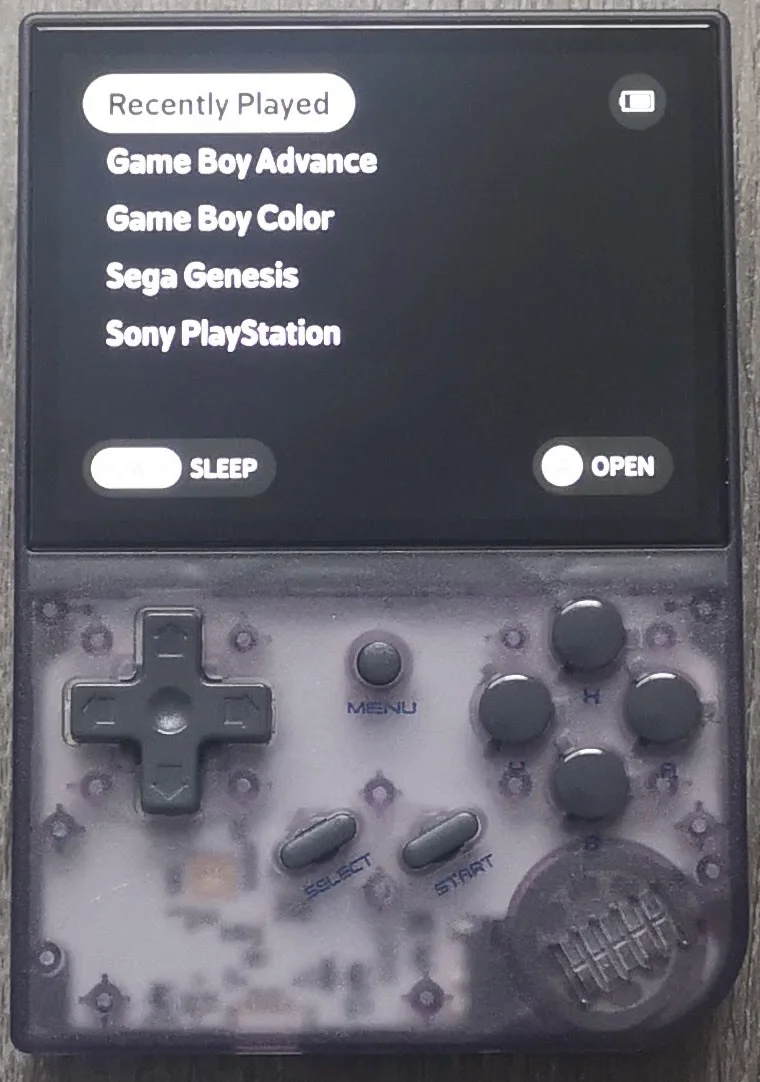
The stock experience of the RG35xx is honestly not very good. Like all Anbernic devices, the included software is functional but a bit of a mess. Luckily, like most Anbernic devices, the RG35xx has a great developer community that has embraced the device and started creating custom firmware that vastly improves on the out of the box experience of this device.
There are a number of great firmware options available for the RG35xx which range from minimalist (minUI) to simple (GarlicOS) to more advanced (muOS or Batocera Lite/Koriki). Each firmware has its advantages and disadvantages but whatever you chose, it will be a much better experience over the included software.
For a more in depth comparison of the custom firmware options available on the RG35xx, check out my RG35xx Custom Firmware Guide
Also be sure to check out my guide on How to install GarlicOS on RG35XX for detailed instructions on getting GarlicOS up and running on your RG35xx

Customizing the RG35xx
If you are like me, half of the fun of having a device is customizing it to fit your style.
In addition to getting all of the systems setup just the way I want it, I’ve also added a custom theme and boot logo which can be done through GarlicOS.
Check out my RG35xx Themes Installation Guide for more info
As well, there are lots of great hardware modifications available for the RG35xx
- Better Shoulder Buttons
- SakuraRetroModding Custom Printed Face Buttons
- Or a complete set of all face buttons from CloudLife6
- A Comfort Grip Case
- A custom printed holographic “Gameboy” sticker from the back
RG35xx Accessories
- Official RG35xx Carrying Case
- A 3.5″ HDD Carrying Case also makes for a perfect sized carrying case for the RG35xx
- You can connect your RG35xx to a TV using a mini HDMI to HDMI cable
More Reading..
-
How to Download GarlicOS Box Art
GarlicOS is a fantastic custom firmware that greatly improves the experience on the RG35xx. It is lightweight and intuitive to use as well as pretty…
-
How to install GarlicOS on RG35XX
In this guide, I will show you the steps on how to install GarlicOS on your RG35xx device. The process is very easy and with…
-
RG35xx Replacement Buttons Install Guide
In this RG35xx replacement buttons install guide, I will be guiding you through the process of replacing the front face buttons on the RG35xx. RG35xx…
-
RG35xx Batocera Lite and Koriki Guide
June 2023 – The developer porting Batocera to the RG35xx has stopped development and started working on a fork of Batocera called Koriki which is…
-
RG35xx Themes Installation Guide
It’s not hard to see why GarlicOS is the most popular custom firmware available for the RG35xx. In addition to being fast and vastly improves…
-
RG35xx Ports Installation Guide
While the RG35xx is primarily a handheld device designed to play games from home and handheld consoles, did you know that it can also play…