RG353V Shoulder Button Replacement Guide
In this RG353V Shoulder Button replacement guide, I will show you how to replace the back shoulder L1/R1/L2/R2 buttons in this device with the Better Button Mod buttons. These buttons can be purchased from the Better Button Mod Etsy store or printed for free with a 3D printer using the freely available design.
There are also custom face button mods available at Etsy shops if you want to make your RG353V/VS more stylish.
With the Better Shoulder Button mod, the triggers are raised making them easier to reach, especially the L2 and R2 buttons. Overall, it adds better ergonomics to holding the device and makes pressing the triggers much easier.
Opening your electronic device can seem intimidating if you’ve never played inside electronics, but with this guide, I will show you that it is a pretty quick and easy thing to do.
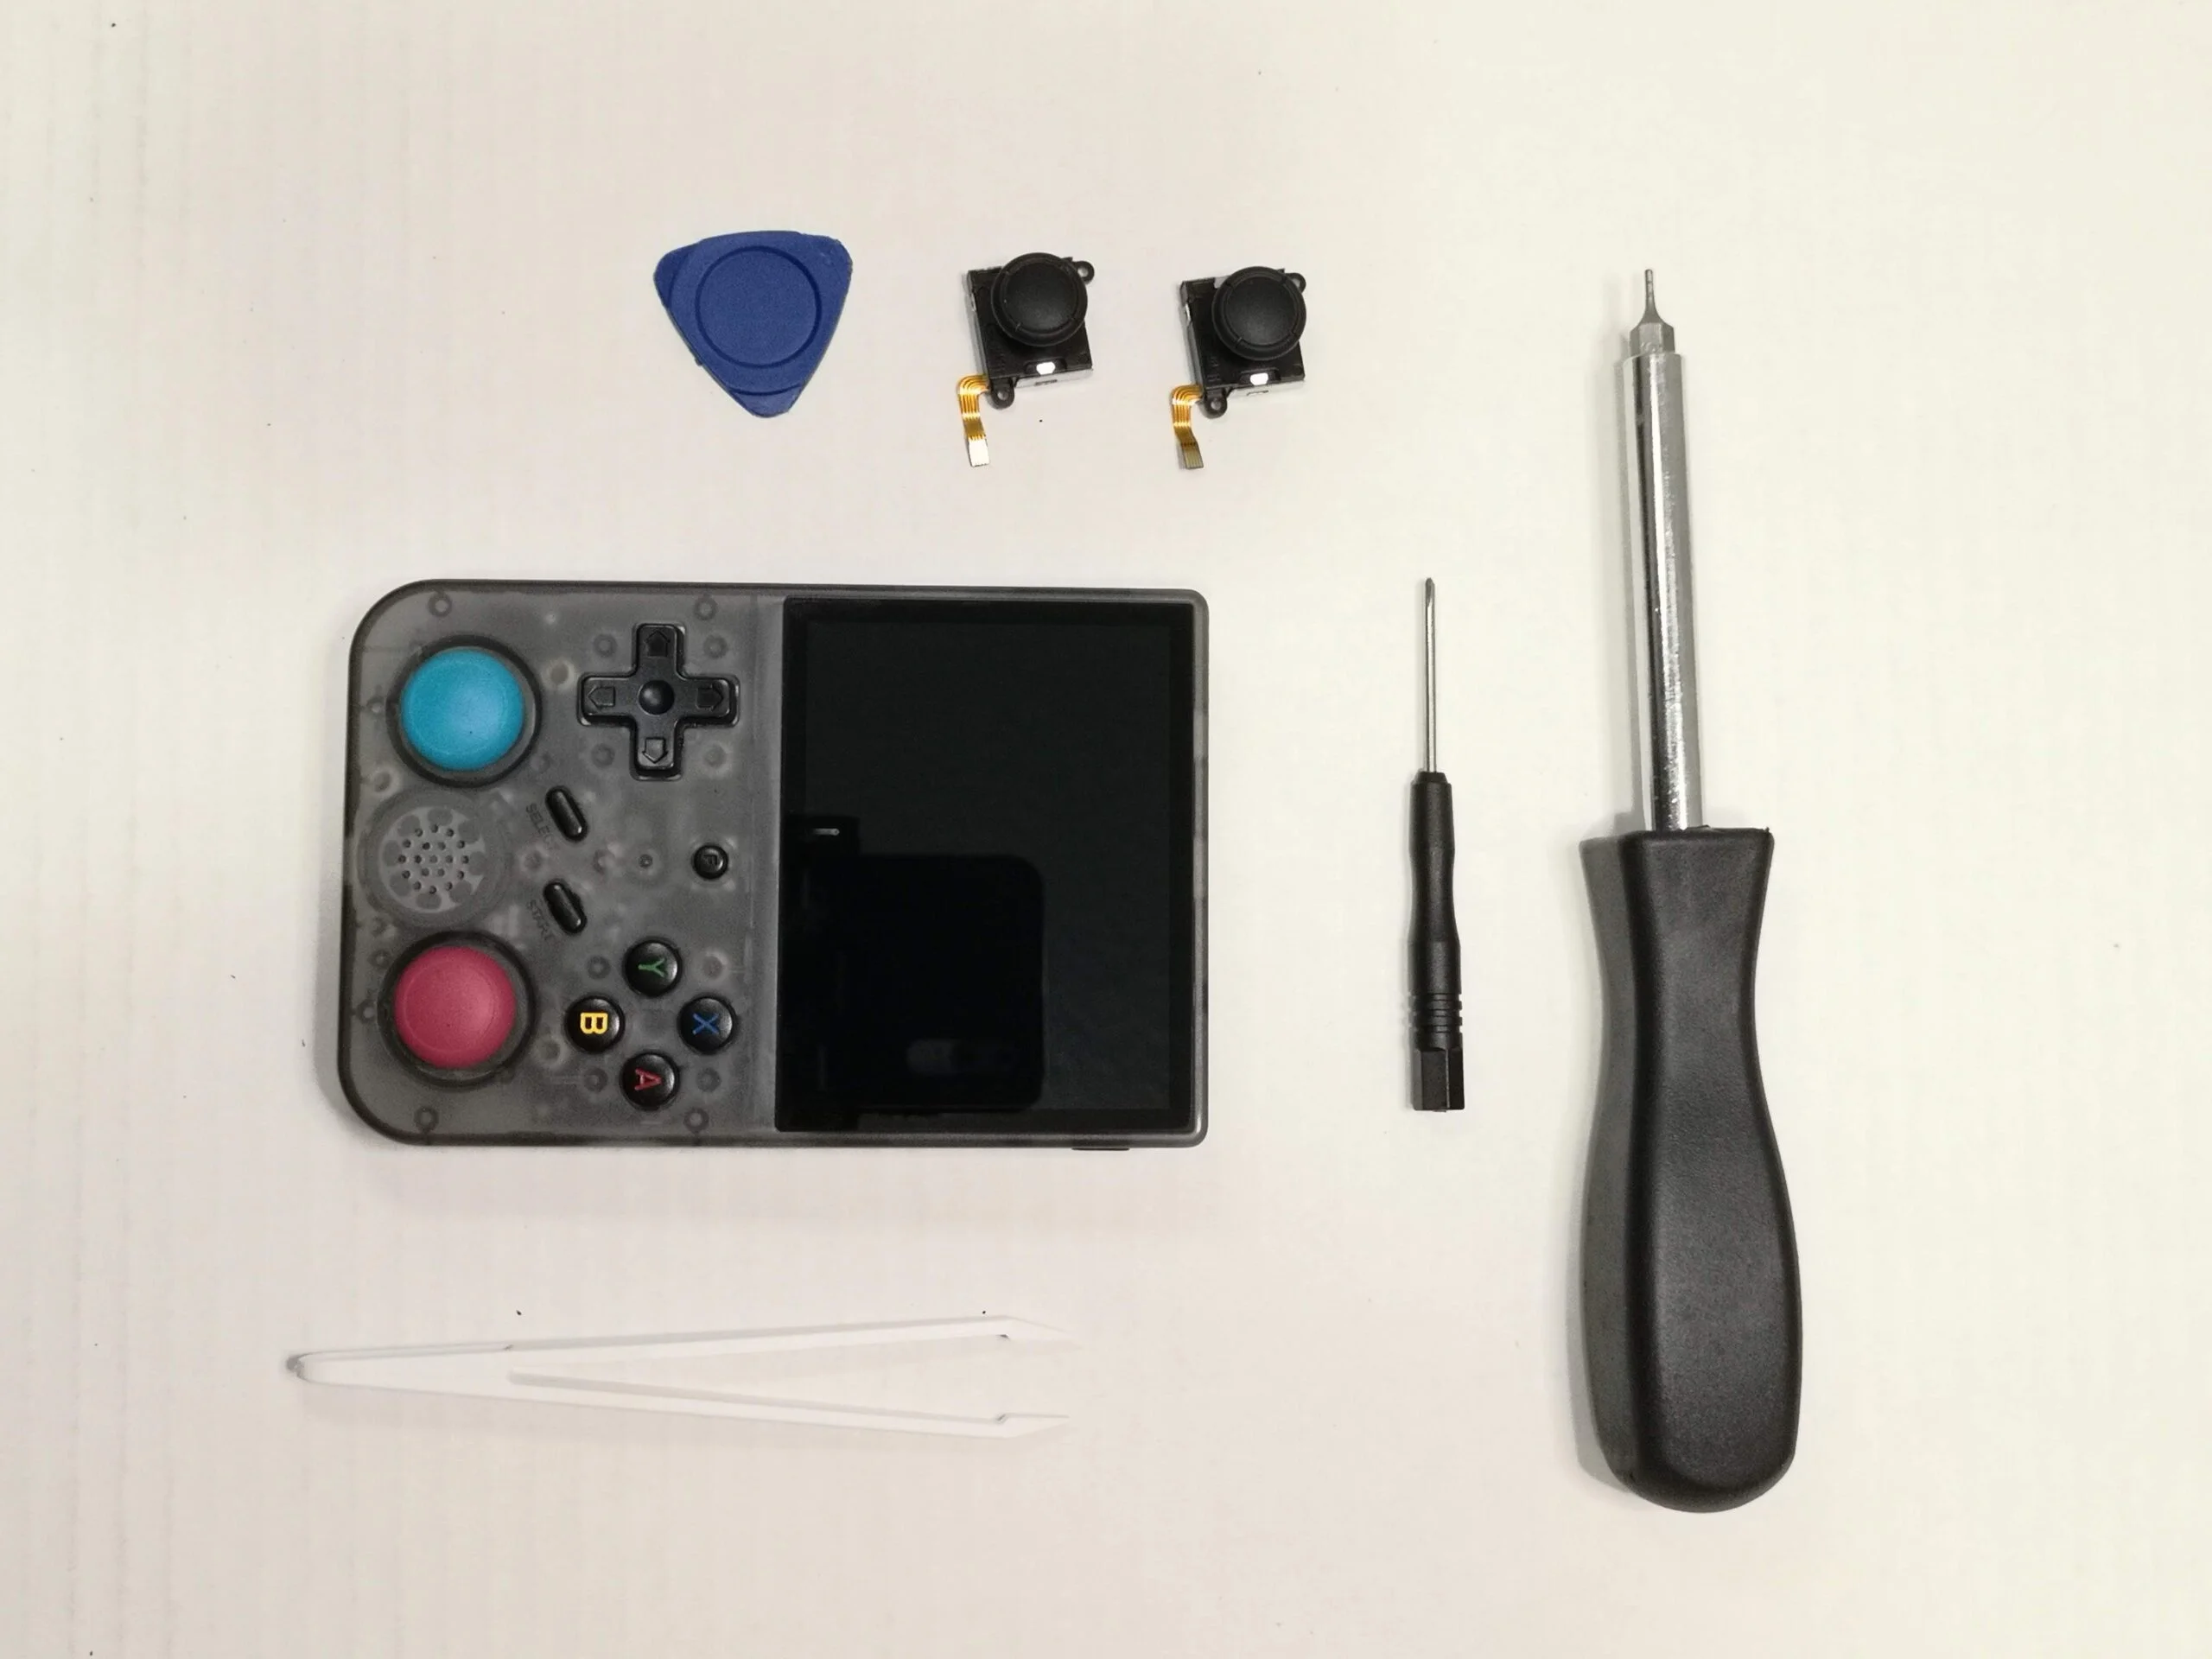
Tools you’ll need
I recommend that you pick up a good tool kit that includes the screwdriver, tweezers and separator like this one from Amazon
- Small Philips head Screwdriver
- Torx T6H Screwdriver
- Guitar Pick
- Tweezers
- Replacement Shoulder buttons
- Small bowl for the screw
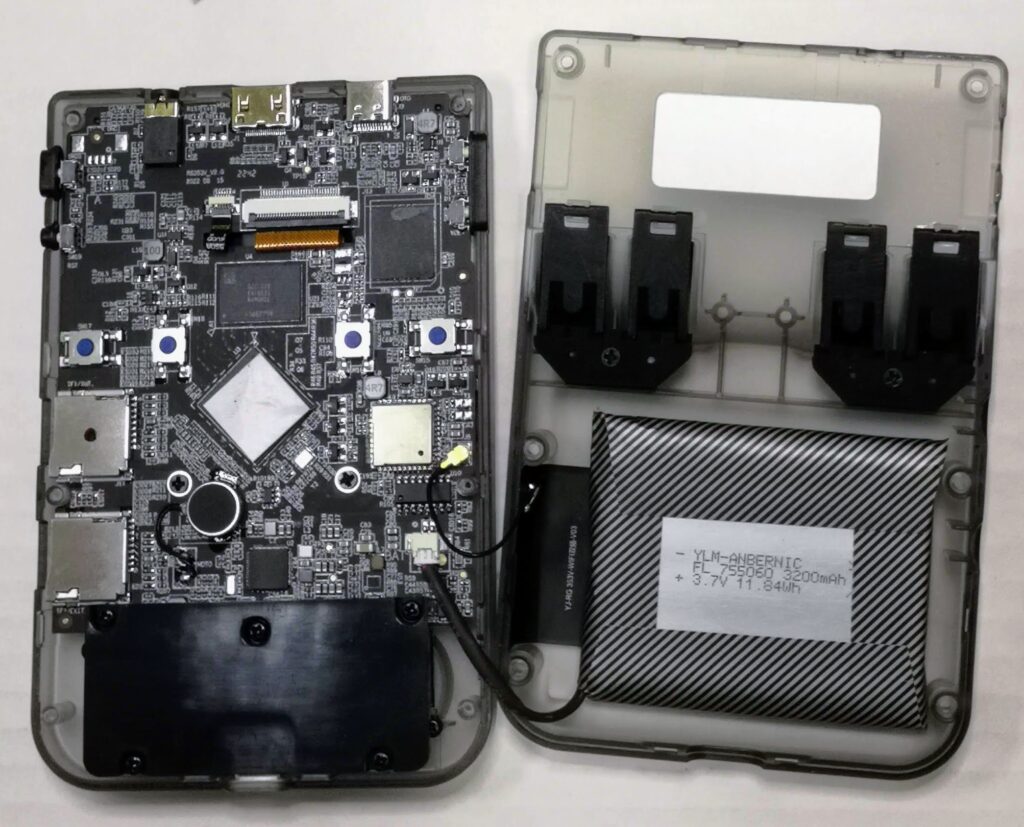
RG353V/VS Tear Down
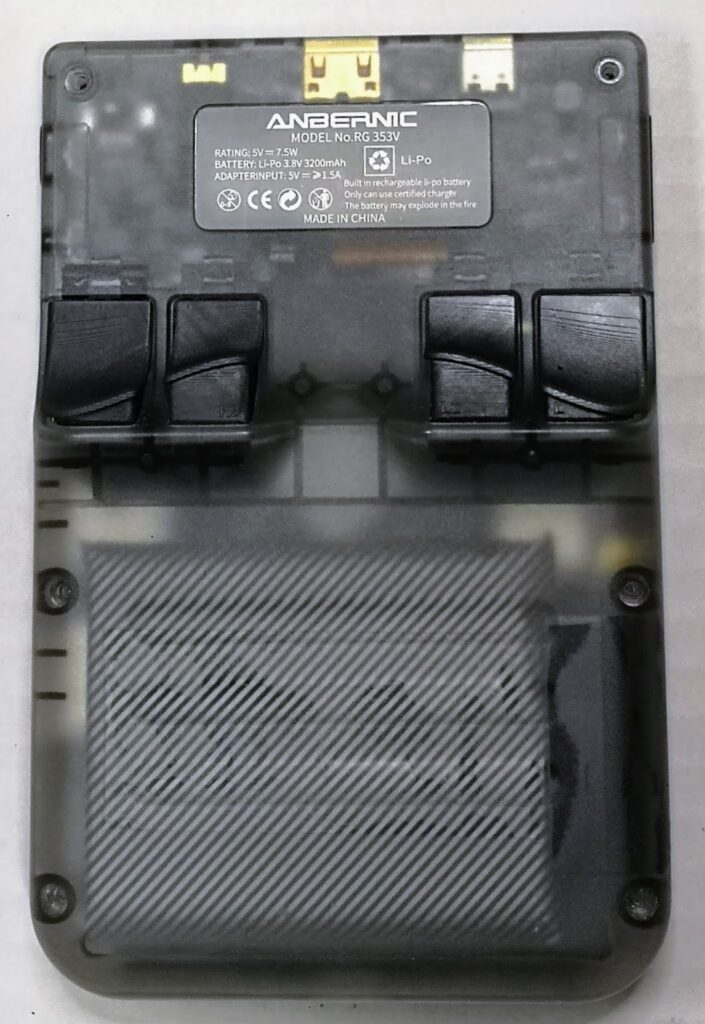
To open the RG353V, you first need to place the device face down on a flat surface.
The back plate is held in place by six small screws. Each screw needs to be removed carefully by turning the screw counter-clockwise with your screwdriver.
Put the screws aside. I recommend that you use a small dish to hold all of your screws so that they don’t roll off the surface that you are using.
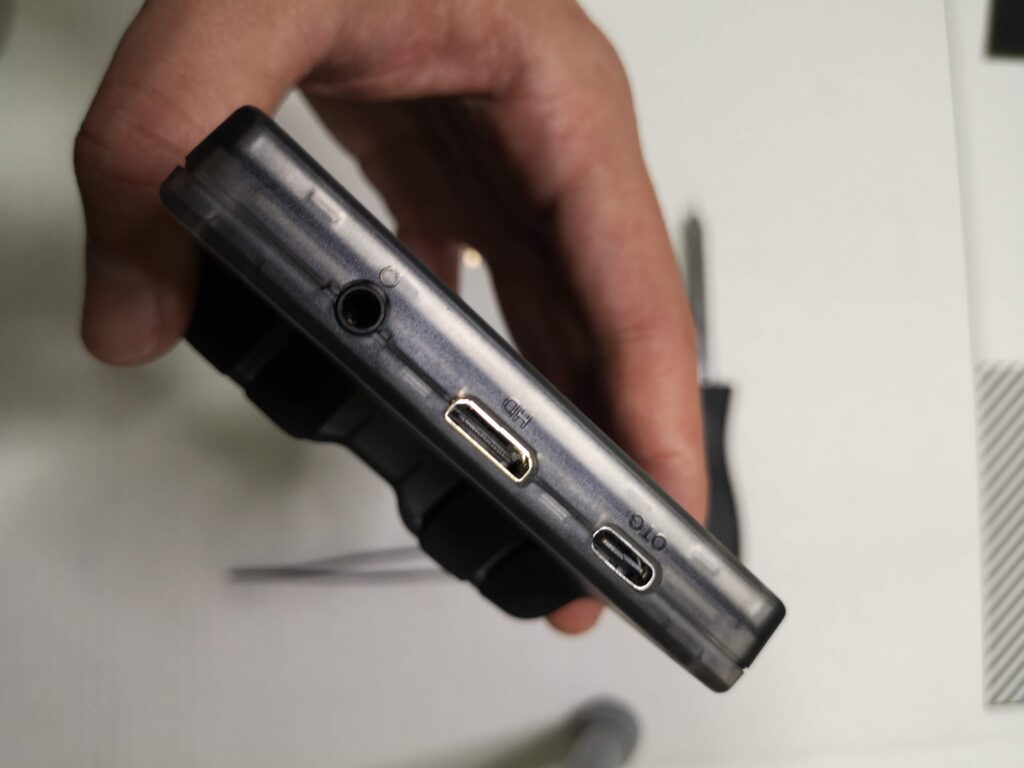
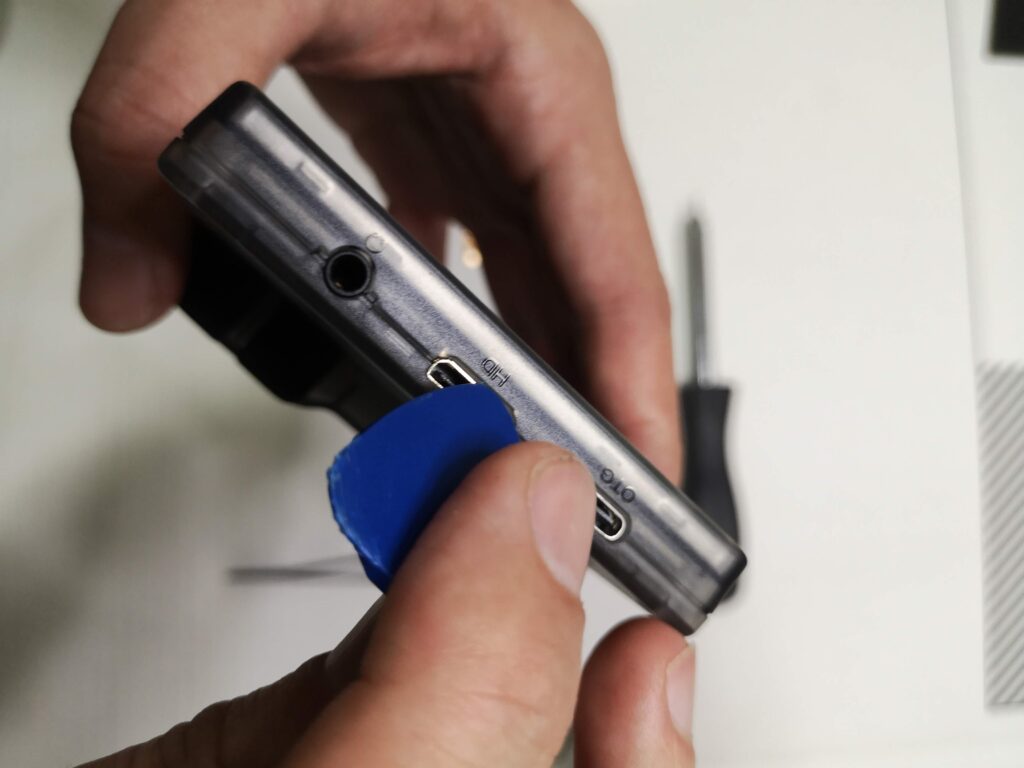
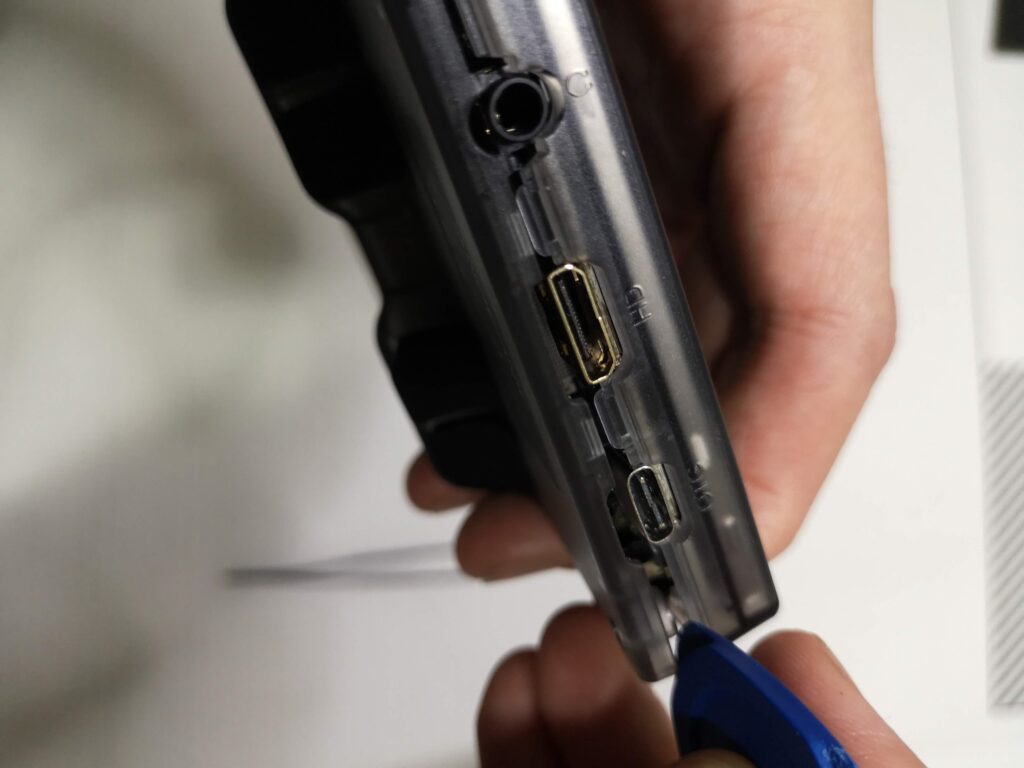
Next you need to remove the back plate carefully by prying it open with your guitar pick. To do this, insert your guitar pick in the gap between the HDMI port and the case. Carefully twist the guitar pick until you hear a small pop as the back plate releases from the front of the case. Use this opening to work your way along the opening around the case releasing each of the hold points.
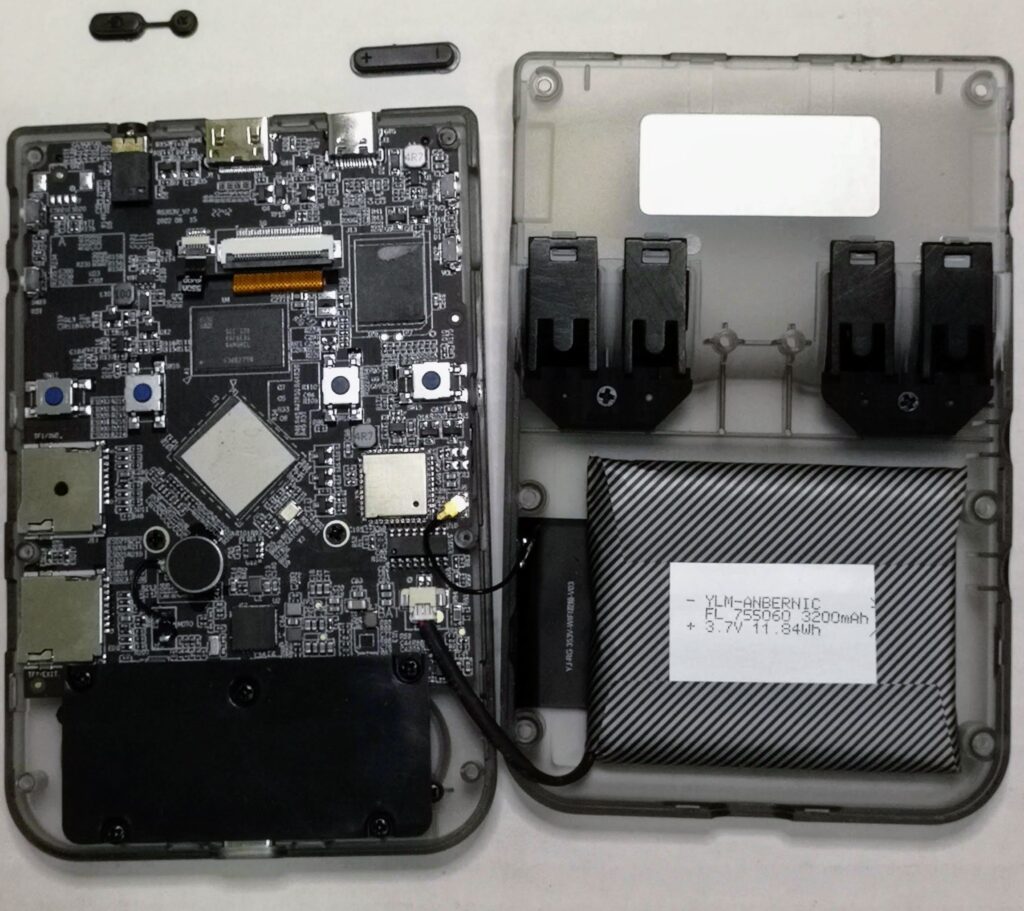
With the screen face down, remove the back plate carefully from the left side as there are wires connecting the wifi chip to the back plate and the battery to the main board.
Open the case slowly and set it down like an open book being careful not to lose the power and volume rocker buttons as they can fall out as they are not secured to the case. I recommend taking these buttons out and setting them aside so you don’t lose them.
You can place your RG353V back on the table face down.
Removing the old shoulder buttons
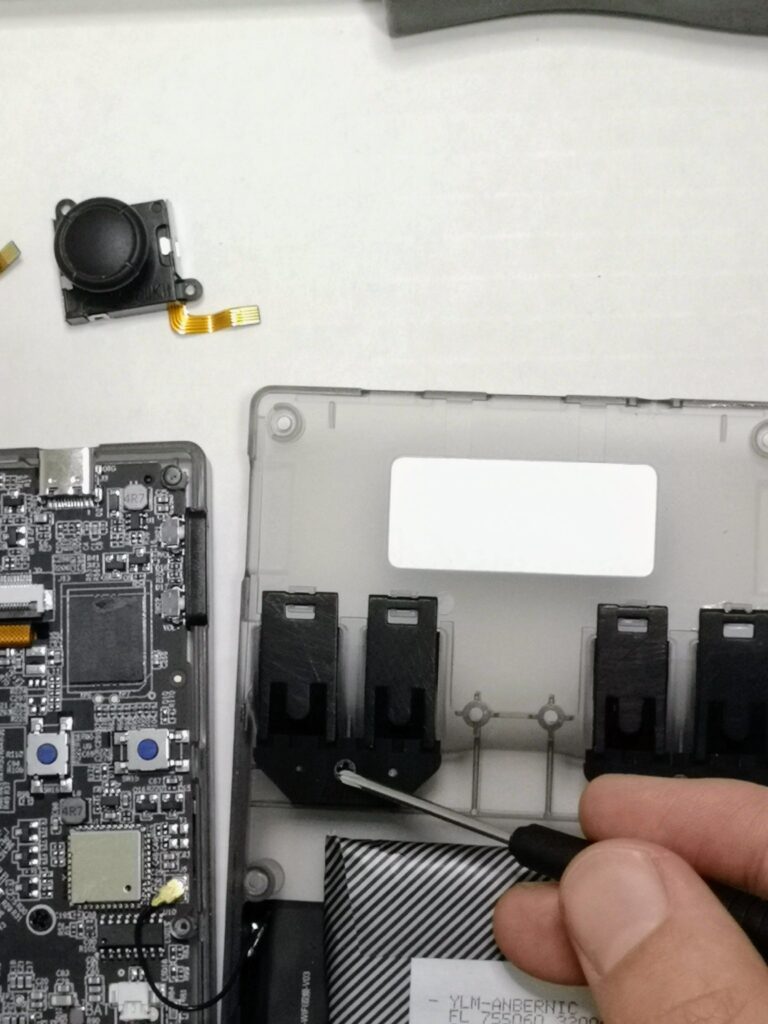
Next you will need to locate the shoulder buttons on the back casing.
The four shoulder buttons are connected to the back case by a small clip for each button which acts as a hinge. The left and right button sets are also held in place by a small black plastic plate held by a single philips head screw.
Remove the screw and set it aside.
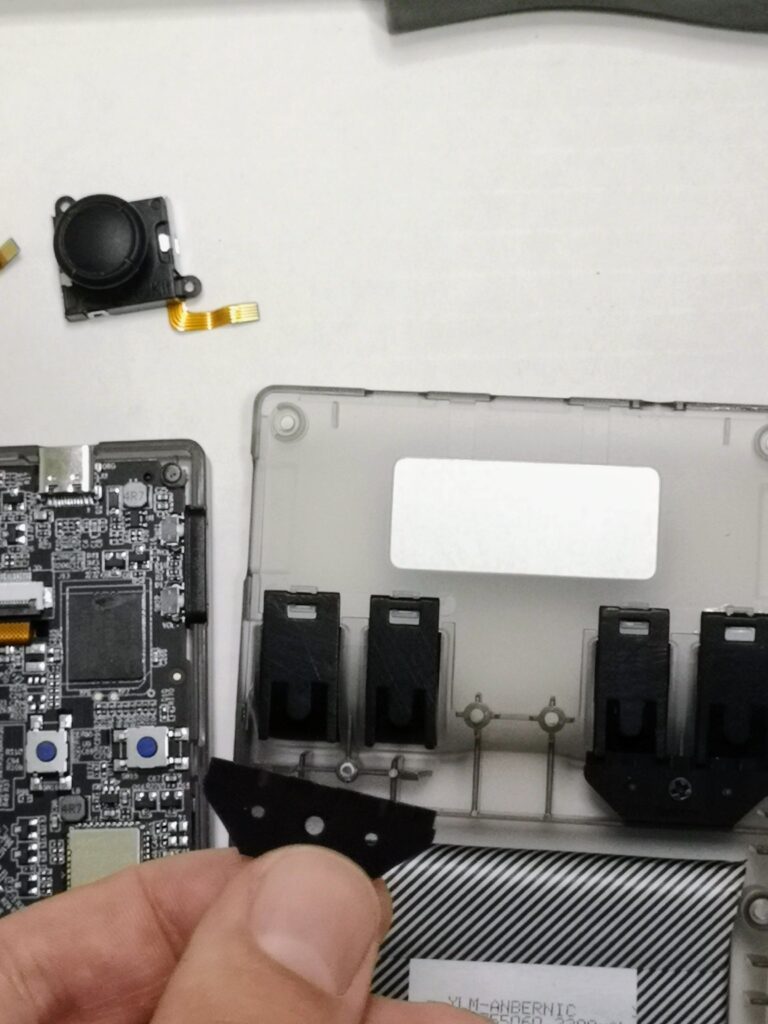
Lift the plastic plate out carefully. Notice that the plastic plate is held under the buttons in a small notch so you’ll need to ensure that you lift the plate from the bottom and slide the plate out from under the buttons.
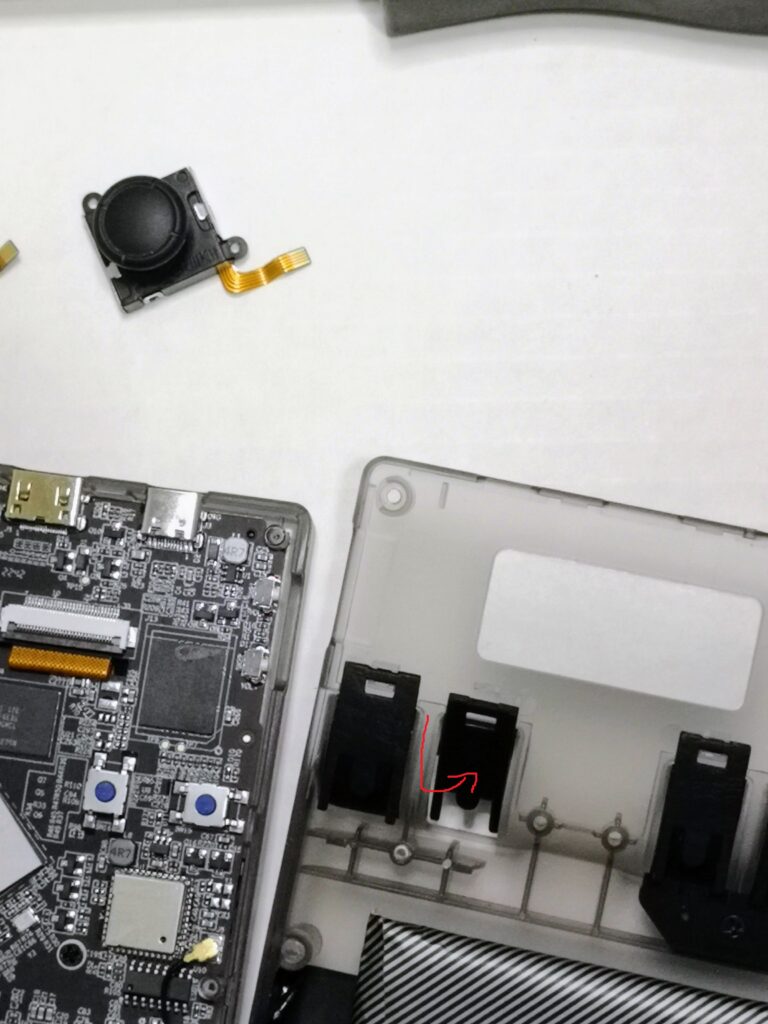
Next you will need to gently detach the button hinges from the back case. I strongly recommend that you use a knife or thin tool to gently leverage the hinge from the clip as the clips are very delicate and prone to breaking if you force it.
Slide the knife under the hinge and leverage the knife using the case to slowly work the button hinge out of the clip.

If you happen to break one of the clips from the case, you can always superglue the hinge bar of the button directly to the case. You will still have full functionality of the button but it obviously makes it harder to replace the buttons in the future if you need to take it out.
Once the hinge is out of the clip, you can push the button out of the case through the back of the shell by rotating it from the bottom out through the back of the shell.
Repeat this process for each of the four buttons.
Putting the new buttons in
The process of putting the new buttons in is going to be the reverse of what we just did.
First insert the new button through the case from the outside of the shell. Insert the top of the button first then rotate it upwards until the hinge of the button is near the clip on the back of the shell case.
Very gently push the hinge into the clip.
Repeat this process for all four buttons.
Now you can replace the plastic plate back into the case. This plate fits under the buttons. There is a small tab on each side of each button with a corresponding groove on the plastic plate. Slide the top of the plate under these tabs and line up the screw hold then replace the screw.

Putting the RG353 back together
Now that the new RG353V joysticks are in place, put the black plastic plate back in place and secure it to the board with the screws.
Ensure that the volume rocker and power button covers are back in place (make sure they are’t upside down!)
Place the back plate over the case and begin to press down on it around the edges. You should feel the case begin to snap back in place at the latches.
When the case is snug, you can put the screws back to secure the case.
If you are interested in doing other hardware mods to the RG353V/VS, consider replacing the joysticks with Hall Effect joysticks using my RG353V Hall Sensor Joystick Replacement Guide
More Reading..
-
RG353 GammaOS Install Guide
If you have an RG353, GammaOS is an Android custom firmware option available for the RG353 dual boot devices such as the RG353V, M, P,…
-
RG353 Ports and PortMaster
While the RG353 is primarily designed as an emulation device targeted at retro home and handheld consoles, it is also capable of playing a number…
-
RG353 Dreamcast Best Settings Guide
When it comes to Dreamcast, the RG353 is capable of playing a good portion of the library but to get the best experience you’ll probably…
-
RG353V Hall Sensor Joystick Replacement Guide
In this RG353V Joystick replacement guide, I will show you how to replace the joysticks in this device. The joysticks in the RG353V and RG353VS…
-
RG353 CFW Comparison Guide
The RG353 has a number of custom firmware options for Linux that give the device a new look and feel over the stock OS. Each…
-
RG353 PSP Performance Compatibility List
In this RG353 PSP Performance list I will show you my ratings of over 85 PSP games that I have personally tested on my RG353V…