RG405M Gamma OS Install Guide
In this RG405M Gamma OS install guide, I will walk you through the process of replacing the stock OS on the RG405M with a new custom firmware called Gamma OS which greatly improves some of the issues with the included firmware that shipped with the device.
If you are looking for a general starter guide with tips and tricks for the RG405M, be sure to check out my RG405M Starter Guide here
All of these instructions have been adapted from the official instructions that can be found on the Gamma OS github page. The instructions in this guide are for brand new installs from Stock OS but you can also find instructions on the official Github for upgrading or going back to Stock OS.
If you are looking for the RG353 Gamma OS Install Guide, check it out by following the link here
Gamma OS Official Github: https://github.com/TheGammaSqueeze/GammaOS
Introduction
The stock OS that ships with the RG405M, like all stock OS options on Anbernic devices, is OK but not great. Luckily, many Anbernic devices have been embraced by the developer communities who have released custom firmware options which greatly improve the out of the box experience of their devices.
Gamma OS is a new custom firmware for the RG405M which is based on the Lineage Android operating system. It aims to improve and fix many of the features that shipped with the RG405M.
Some key features and improvements include:
- Fix the L2 and R2 mapping in Android apps
- Fix the over-sharpened display
- Add more performance throttle options to improve battery life
- Update the GPU drivers to the experimental drivers included in the Retroid Pocket 3+
- Modest bump in performance for higher end system emulation (GC, PS2, Switch)
Overall, updating the RG405M to Gamma OS will greatly improve your experience with this device and I highly recommend it. With that said, let’s get started.
Prerequisites
Before getting started, there are a few things that you will need to know:
You will need a Windows PC to complete this process.
This process will wipe the internal storage on your device, so if you have your ROMS or other configurations stored on the internal storage, be sure to back those up before you get started.
Remove any SD cards that you have in the TF slot before you begin this process.
Download Gamma OS
First thing that we need is the Gamma OS files. Gamma OS comes in two different versions so be sure to download the one that makes the most sense for you.
Gamma OS Lite does not include Google Play Store or Google Services (though it does include the Aurora Store) so this one will be lighter on resources which will help a little when pushing your device to the max of its emulation capabilities.
Gamma OS Standard will include Google Play Store and Services which will make it easier to use your Google profile and download any android games you have purchased or use services for streaming apps like Xbox Cloud or GeForce Now.
Gamma OS Download Link: https://github.com/TheGammaSqueeze/GammaOS/releases
Other Tools and Software
In addition to the Gamma OS files, you will also need to download a software called ADB and Fastboot Tools and Drivers which can be found at the link below. Download the latest release files in .exe format
Download Link: https://github.com/K3V1991/ADB-and-FastbootPlusPlus/releases
Installing Gamma OS on the RG405M
Now that we have our files and tools, we can get started with the install process.
Go ahead and extract the Gamma OS files into their own folder. This .zip is quite large so it will take a few minutes to extract everything.
While that is running in the background, we can install the ADB and Fastboot Tools.
Install ADB and Fastboot Tools
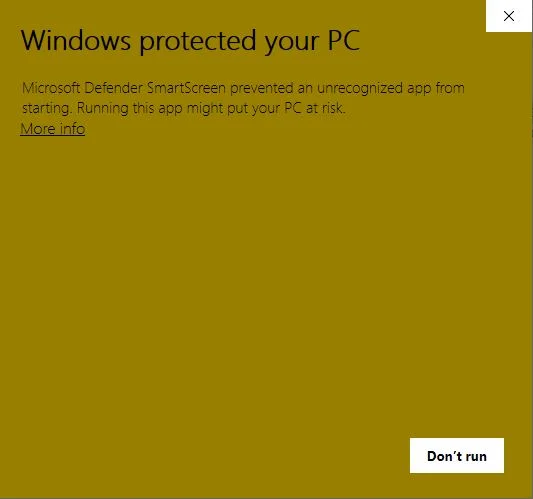
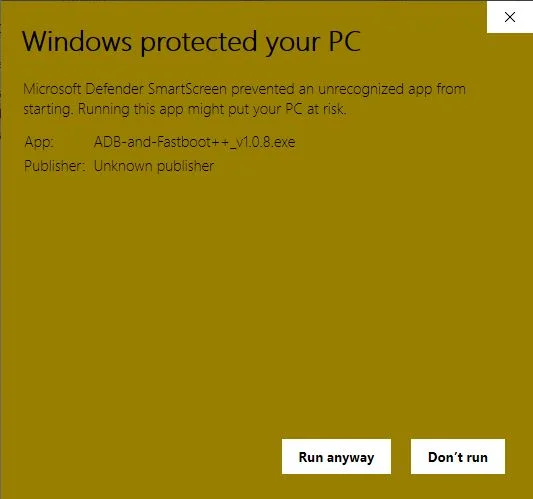
The first step is to install the ADB and Fastboot tools. Start by finding your ADB and Fastboot tools download and running it. You may encounter a warning running unrecognized apps but just go ahead and click More info and then Run anyway

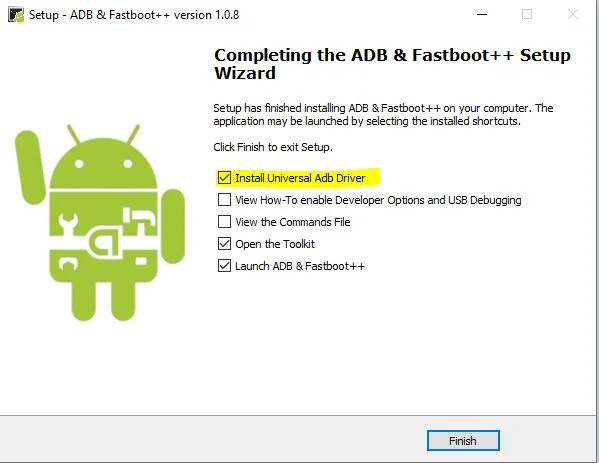
When the program begins to run, you’ll need to agree to the terms of service then click Next and walk through the setup process and press the Install button when prompted. After the install, you will land on a Setup Wizard completion page.
At this final step, before clicking the Finish button you need to ensure that you check the box for Install Universal Adb driver
Once you click finish, the ADB and Fastboot wizard closes and you will immediately start on another wizard to install the Adb drivers. Click through this wizard until it installs everything and finishes.
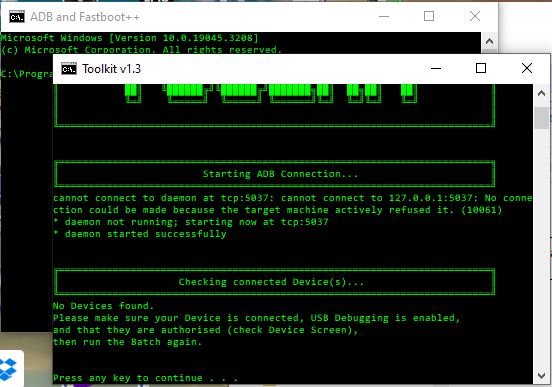
At the end of this process, your system will open two command prompt windows which you can go ahead and close for now. We will open them again later in the install process.
Install the Unisoc Drivers
The Unisoc drivers will need to be installed and these can be found in the Gamma OS install files.
Go to the directory where these files were extracted and look for a folder called UnisocDrivers.
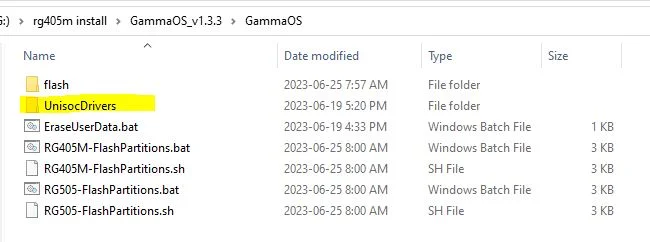
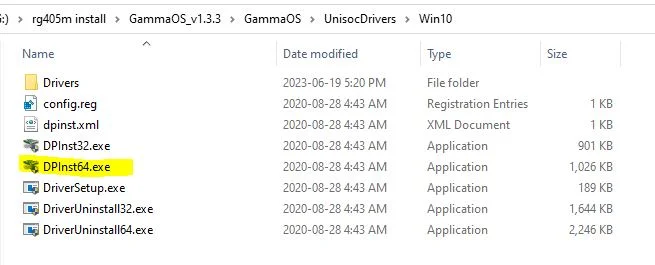
Within this folder are a number of subfolders and we will need to chose the folder that corresponds to the version of Windows that we are using. If you are using Windows 11, you will also use the Win10 folder.
Within each Win folder is a file called DPinst64.exe which we can go ahead and run.
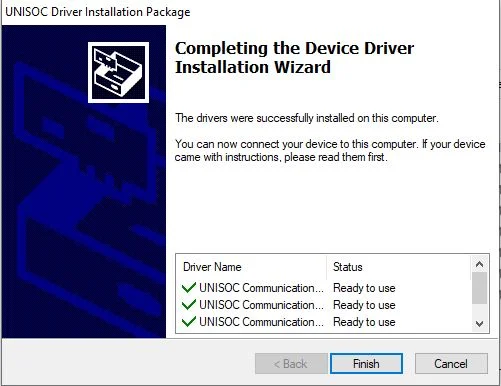
This wizard only has one step which we can go ahead and press Next for, then let the system install the drivers. Once complete simply press the Finish button.

Restart your PC
Now that all of the drivers are installed, it is best to go ahead and restart your Windows PC to ensure that all of the drivers are recognized properly when it boots back up.
Enable Developer Options on the RG405M
While your PC is restarting, we can get our RG405M ready for the install process.
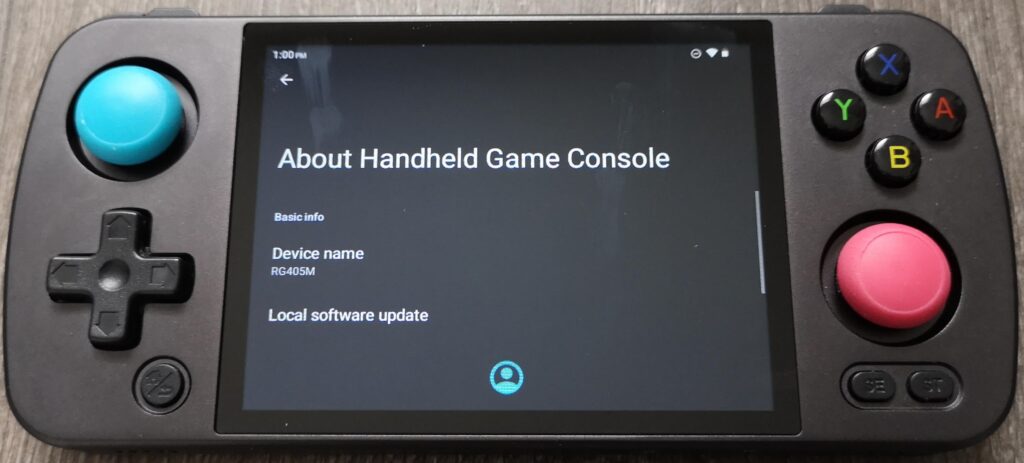
Boot up your RG405M and swipe down from the top to open the shade and press the gear icon to open the settings menu. Scroll all the way down until you About Handheld Game Console.

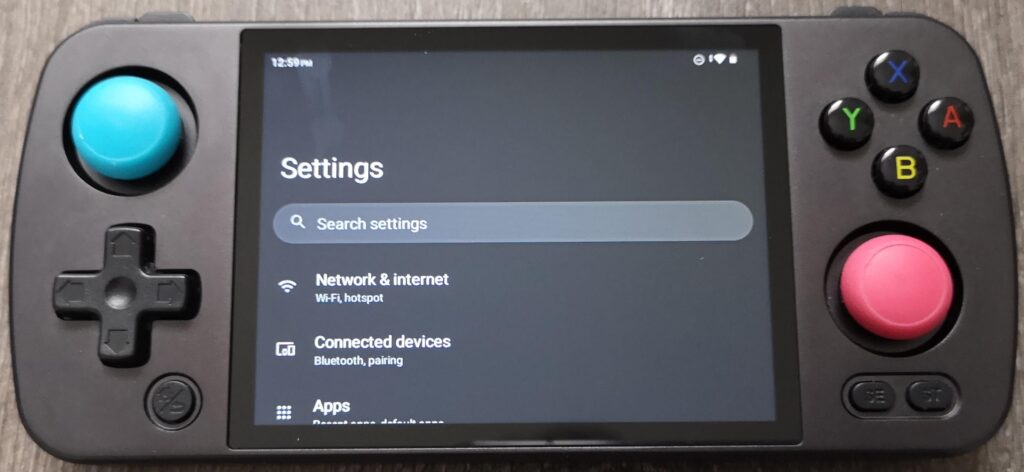

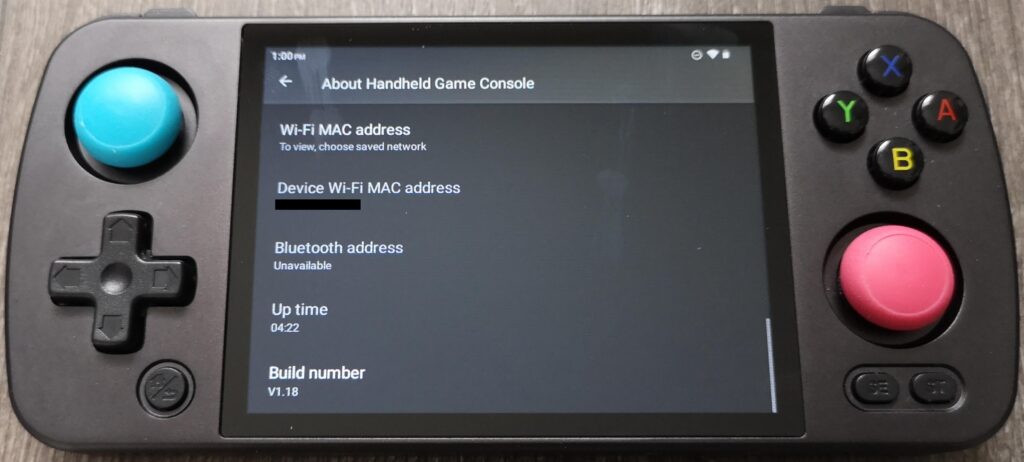
Under the About menu, again scroll all the way down until you see Build Number. Tap on the build number item about 5 or 6 times until the message ‘You are now a developer’ appears.

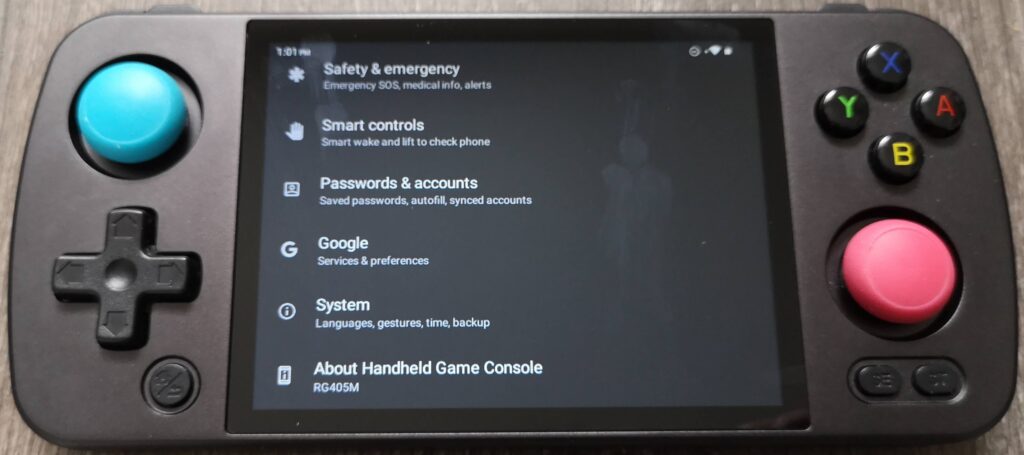
Now that the developer options are enabled, back out of this screen to the main Settings and find the option for System.
Under the System menu is a new item for Developer Options which we will need to open.
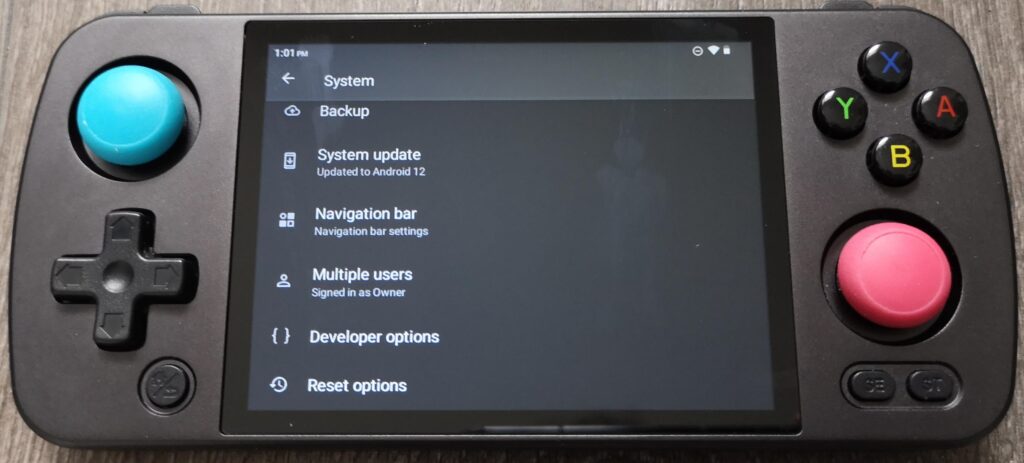

About half way down the developer options menu is an option for USB Debugging which will need to be turned on.
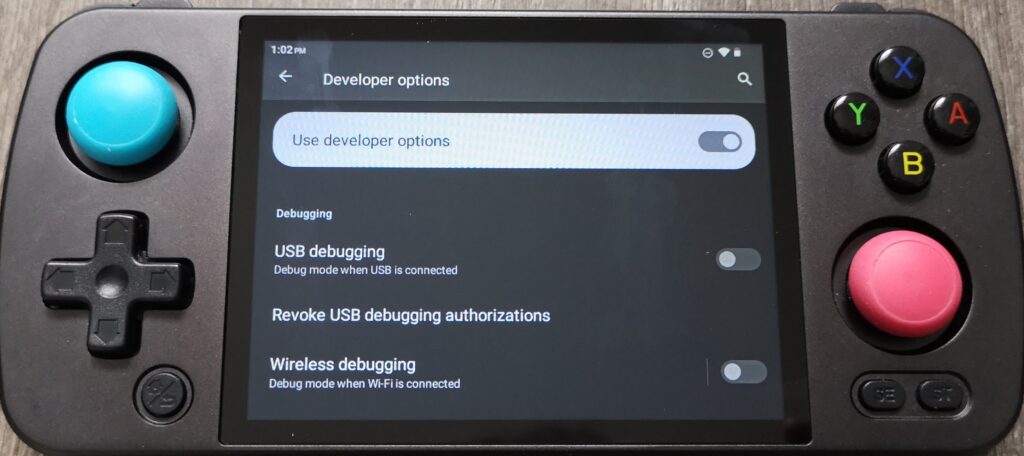

That’s it for the developer options. We are now ready to connect the RG405M to our PC.
Unlock the RG405M bootloader
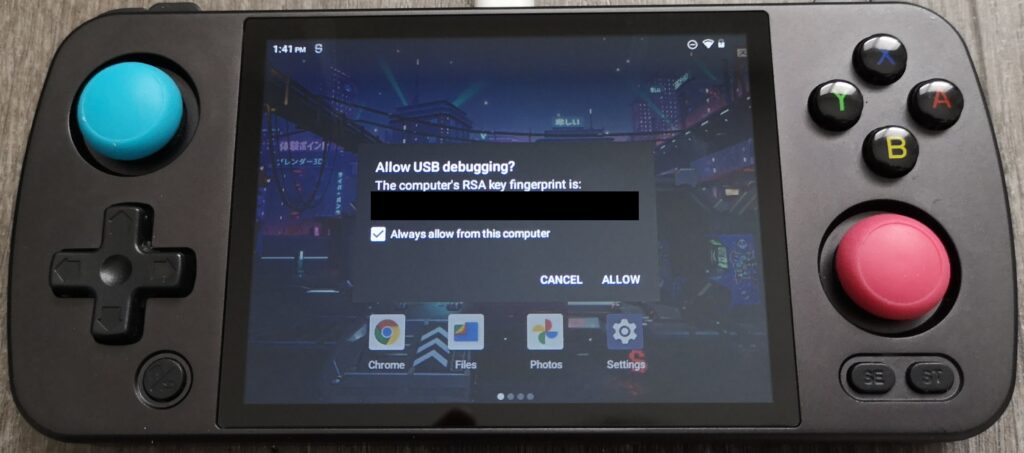
Go ahead and connect your RG405M to your PC via the USB-C cable. When you first plug it in, the RG405M should have a message that says USB debugging Connected. If you don’t see this message at first, you may need to allow USB Debugging via the prompt. Just select Always allow and proceed.

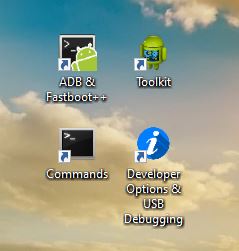
Back on our Windows PC, we need to start the ADB Fastboot tools that were installed earlier. Assuming you followed the default prompts and allowed for desktop shortcuts to be installed, you should have a shortcut called ADB & Fastboot++ which we need to open now.
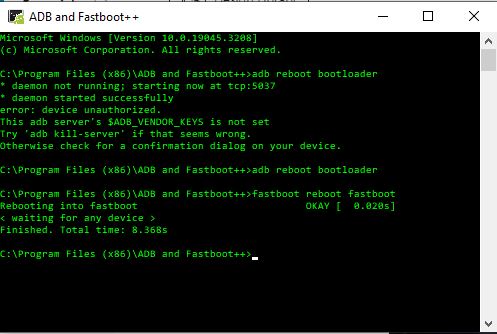
This should open a command prompt window where you need to type the following command
adb reboot bootloader
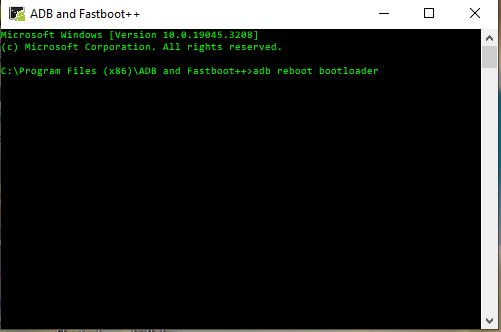
If you get an error message saying error: device unauthorized, check the RG405M for a prompt to authorize your PC and select Always Allow

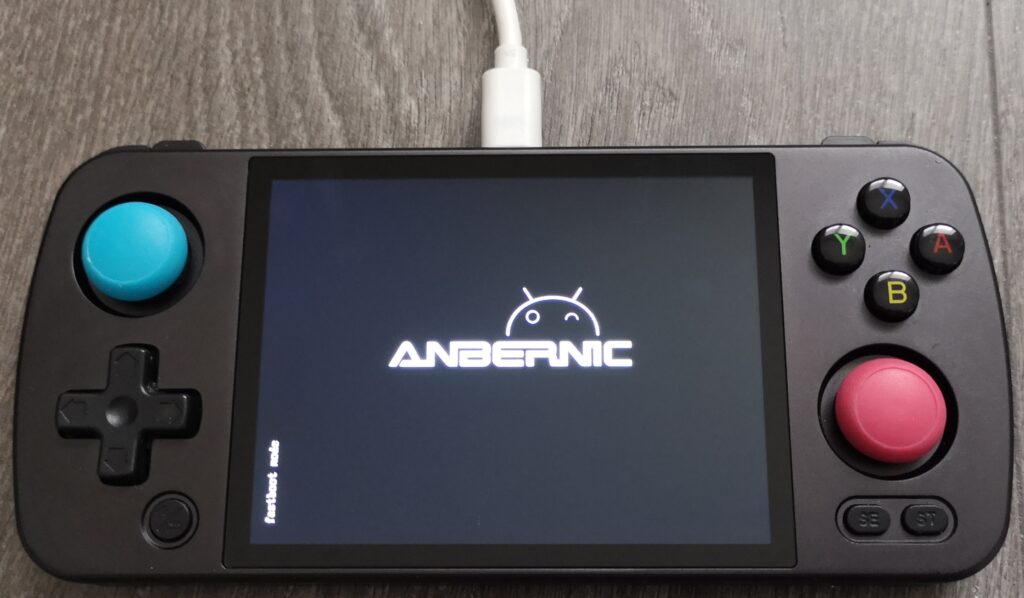
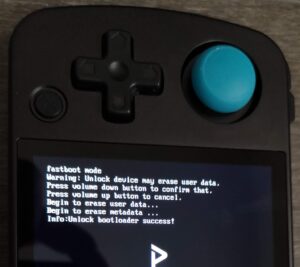
Once authorized and the command above has been successfully executed without errors, your device should reboot to fastboot mode. If it fell asleep before rebooting, simply hit the power button to turn it back on and you should see a screen that looks like the below image.
Next, on your Windows PC, open Chrome and navigate to the following web address
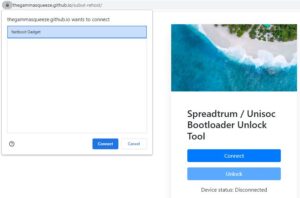
Open this link: https://thegammasqueeze.github.io/subut-rehost/
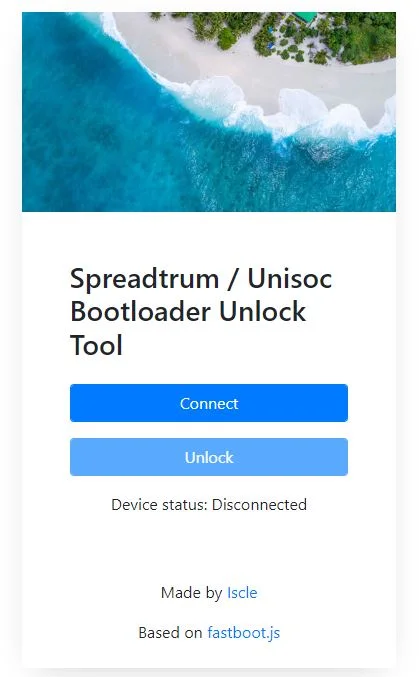
On this page, you will see a tool that allows you to connect to your device.
Press the Connect button and select the Fastboot Gadget item and connect.
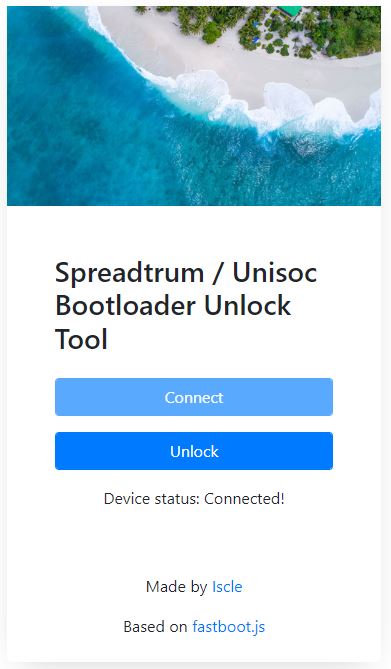
You should then see that the Unlock button is enabled so click that to begin the unlock process.
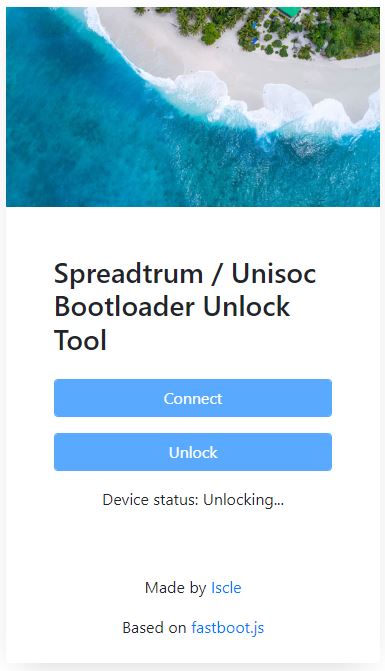
Back on the RG405M, we now see that a new message has appeared about confirm or cancel with volume buttons. DO NOT PRESS THE VOLUME DOWN BUTTON. Instead, we will press the Home button once to begin the unlock process.
Once unlocked, you should see the device status on the webpage listed as Unlocked and the RG405M say Unlock Bootloader Sucess.
At this point with the bootloader unlocked, we will need to close the Chome app window to proceed.
Now, go back to your ADB & Fastboot++ command prompt window and type the following command
fastboot reboot fastboot
Assuming this command is successful, you should see the following in the command prompt window.
The RG405M should also reboot into fastboot mode and look like the image below.

Flashing custom firmware to the RG405M
With the bootloader unlocked and the RG405M in fastboot mode, we first need to close the ADB & Fastboot++ command prompt window.
Next, open the GammaOS folder that we extracted the install files to earlier and search for a file called RG405M-FlashPartitions.bat (Windows Batch File)

Once you open this file, it will create a command prompt window with a 30 second warning allowing you time to verify that you selected the correct file for your device. If you accidentally selected the 505 file, you can close the window and try again with the 405M file.
Allow the warning to countdown and it will begin the flashing process. This will take between 5 – 10 minutes so just let it do its thing.

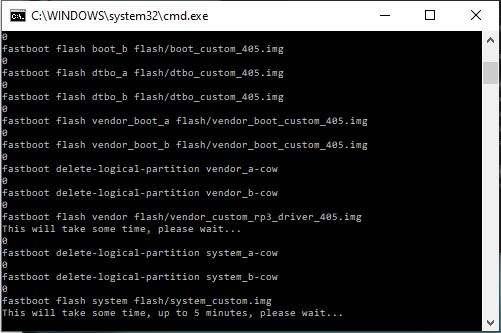
While this flashing process is occurring, nothing will be changing on your RG405M but it is important that it remains plugged in for now.
When the custom firmware has been flashed and the process is complete you’ll see a cooldown timer message before the window closes.
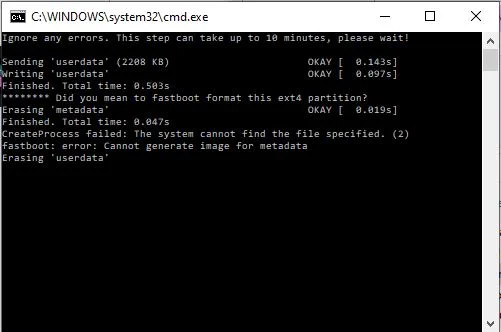
Next open the EraseUserData.bat (Windows Batch File) in the same folder where we found the FlashPartitions batch file.
When executed, you’ll see a bunch of error messages that can be ignored at this point. Just let the process finish. It will take a few minutes to complete and have a cooldown timer message at the end before the window closes.
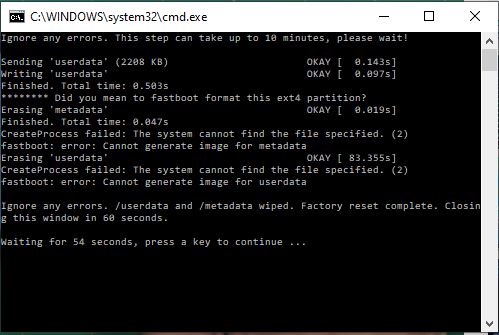
When the process completes, we can go ahead and press the Power button on the RG405M device to restart the device and start the GammaOS initialization process.
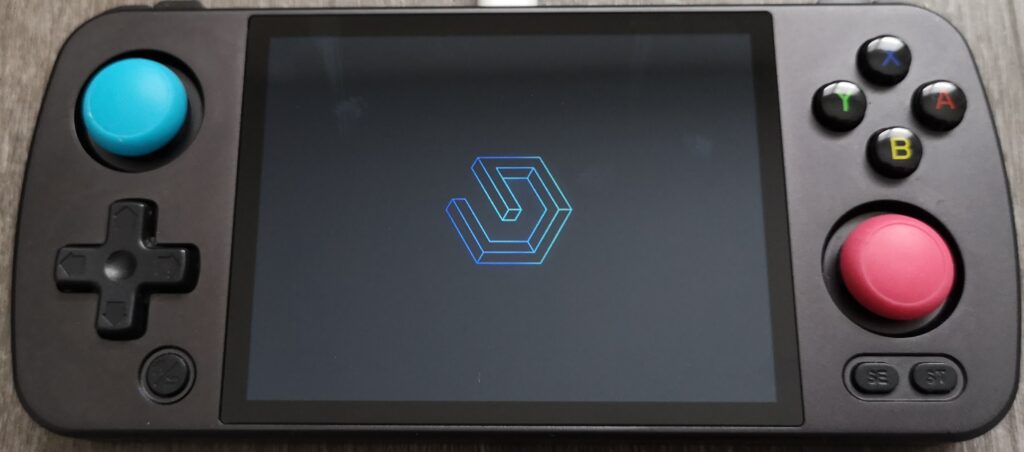
As the RG405M reboots, it will initially have a debug message warning unlock and skip verify – don’t worry, this is normal and just let the system continue what it is doing.
Eventually you will see the GammaOS android boot logo and the system will take another few minutes to complete the initial setup. When complete, your RG405M should land on the setup page that says Hi There!

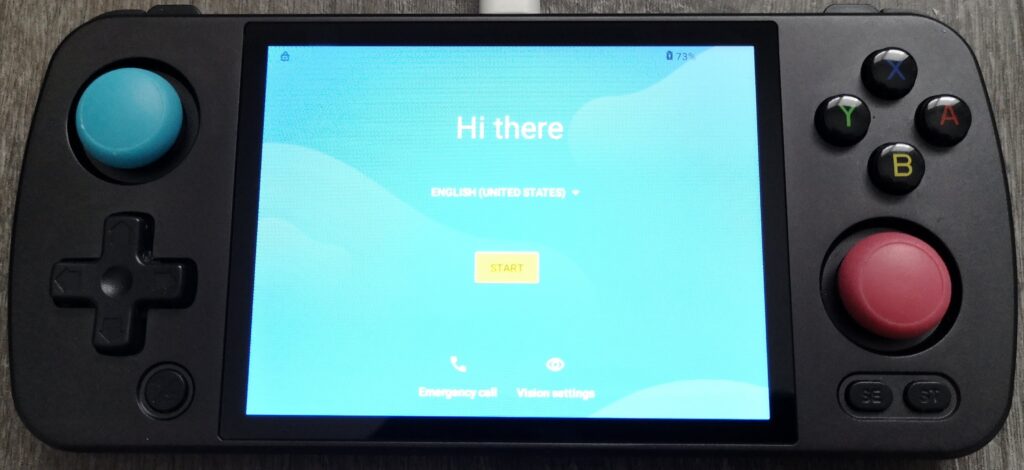
You have now successfully installed GammaOS and can go ahead and complete the initial setup wizard as you would when you boot any new android device.
Interested in more RG405M content? Check out the RG405M page here with articles and tips on the Anbernic RG405M device.
More Reading..
-
RG405M PS2 Emulation Guide
The RG405M is absolutely capable of playing PS2 games but it is by no means a PS2 emulation handheld. With…
-
RG405M Starter Guide
The RG405M is Anbernic’s answer to the successful Retroid Pocket 3+. In this RG405M starter guide, I will talk a…