
RG405M PS2 Emulation Guide
The RG405M is absolutely capable of playing PS2 games but it is by no means a PS2 emulation handheld. With the RG405M, PS2 emulation is going to be a bit hit or miss but with the settings I recommend in this guide, hopefully you will find that the RG405M PS2 emulation is pretty good and you should be able to find many great titles from the console to be perfectly playable.
If you are just getting started with the RG405M, I recommend you check out my RG405M Starter Guide for some great tips and tricks to get the most out of your device
RG405M Stock OS or GammaOS?
With the RG405M, PS2 emulation is going to be pushing the limits of what the device is capable of. One of the biggest limiting factors to getting the most out of PS2 emulation on the RG405M is, unfortunately, the stock os.
If you really intend to push the limits of the RG405M, you will need to update the operating system on the device to GammaOS. While the stock operating system was ok to start with, there have been some great advancements to the graphics drivers which greatly improves the emulation performance since its release and Anbernic has so far failed to provide any OTA updates to the stock os to take advantage.
Luckily, the dev community has stepped up to make custom firmware for the RG405M which fixes a number of problems with the stock os but most importantly also improves the performance of the RG405M PS2 emulation with custom graphics drivers as well as new performance modes which overclocks the CPU.
So, my first recommendation for maximizing the RG405M PS2 emulation is to update to GammaOS. If you want to stick with the Stock OS, you will still be able to play a good number of PS2 titles but you will be leaving some performance on the table. Don’t worry though, the rest of the tips in this guide will still be applicable if you want to stick with the Stock OS.
If you are looking to upgrade to GammaOS, be sure to check out my RG405M Gamma OS Install Guide for a complete walk through on getting this custom firmware up and running.
RG405M PS2 Emulator
As an android based device, there is only really one option for emulating PS2 on the RG405M and that is NetherSX2.
NetherSX2 Github Download link: https://github.com/Trixarian/NetherSX2-patch/releases
Update March 2024 – the developer has removed AetherSX2 from the Google Play app store.
Unfortunately, the developer of AetherSX2 had a falling out with the community and decided to give up on the project and so AetherSX2 is no longer being actively developed so don’t expect PS2 emulation to improve much for the foreseeable future.
Luckily, before the dev stopped work on this project, the performance and usability of the app made a ton of progress over a relatively short period of time.
AetherSX2 was removed from the Google Play store but a new developer has taken up the work of attempting to patch the app with improvements and called that fork NetherSX2.
You can download NetherSX2 from the Github link above by downloading the builder.zip file from the assets of the latest release.
The create the NetherSX2 apk, extract the contents of the zip file to a temp folder and run the file called builder-netherSX2.bat. This will create a subfolder called PatchedAPK with the NetherSX2 apk in it.
RG405M NetherSX2 setup
Prerequisites
NetherSX2 is an emulator only and so it does not come with its own PS2 games or BIOS files, both of which are required in order to play anything.
All PS2 ROMS will have to be sourced for yourself. I will not be providing any links or recommendations in this post. ROMS will generally come with a file extension of ISO or CHD. Once you have sourced your games, copy them to an SD card.
I recommend that you source PAL (European) versions of your games as these games run at a default 50Hz, meaning they only need to emulate up to 50FPS which is a slightly easier target to achieve and thus gives you the best chance at running at full speed
The NetherSX2 emulator also requires a copy of the PS2 BIOS files. I will not be providing any links here to BIOS files but if you are looking for one, I suggest looking for SCPH-90001 in the internet archive. Download the zip file and extract its contents to a folder on your SD card. BIOS files usually come with a file extension of BIN or ROM0 if you downloaded the one from the internet archive.
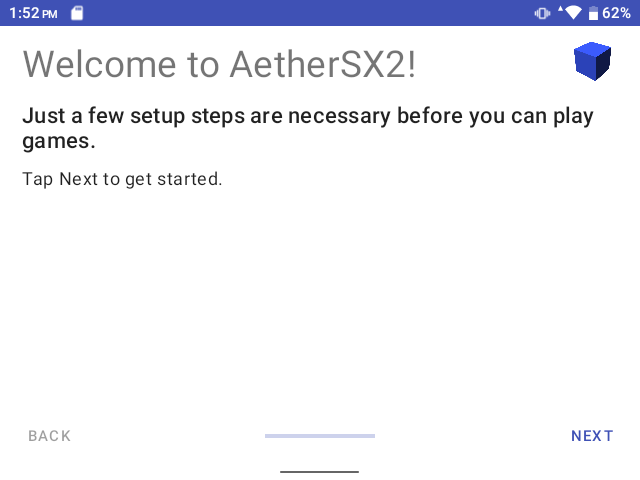
First time setup wizard
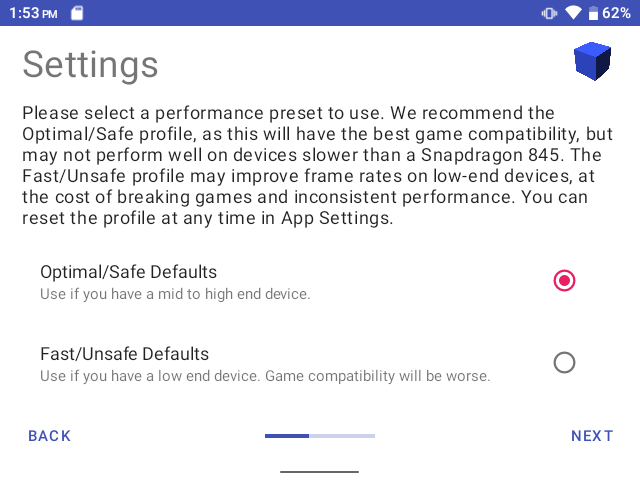
When you first start the app you will be greeted with the setup wizard. The first two steps are just introduction but the third setup requires you to choose between Optimal/Safe Defaults or Fast/Unsafe Defaults.
At this step, I recommend that you use the Optimal/Safe defaults as I have found this preset to have the best performance. The unsafe defaults sets a bunch of hacks and underclocking which aren’t necessary for most of the games that will be playable on this device.
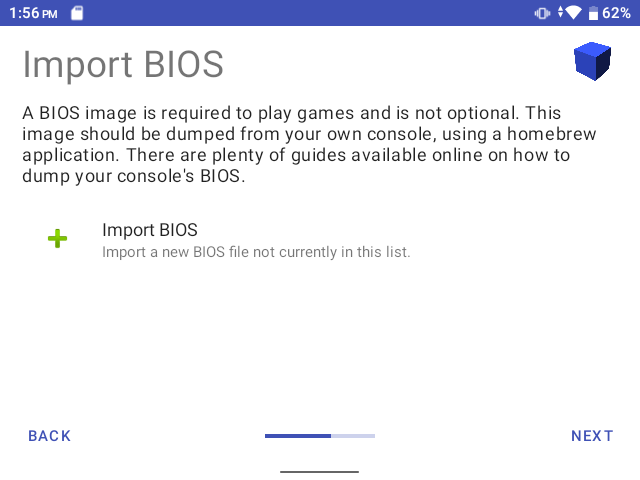
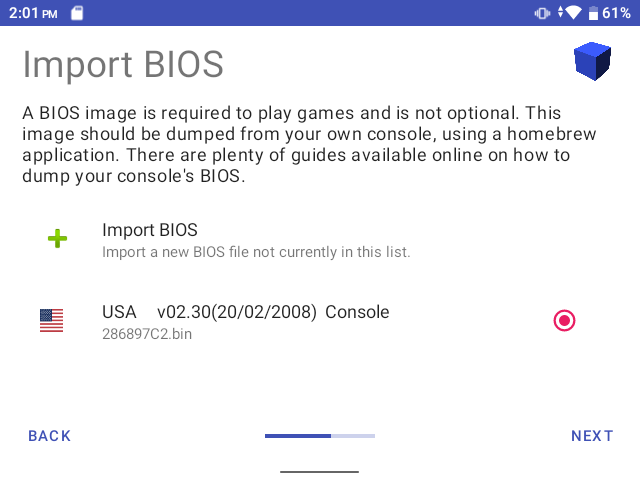
The next step is to select your BIOS file. If you downloaded the version from the internet archive, the file you are looking for has an extension of ROM0. Otherwise, most BIOS file versions found elsewhere have a BIN extension.
Assuming the BIOS was successfully imported, you then just need to click on it to make sure it is selected as the BIOS to be used. If it failed to import or no BIOS version showed up, you’ll need to find another BIOS
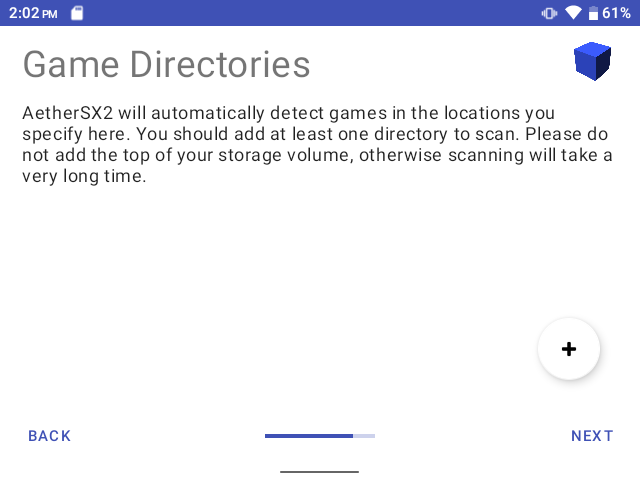
Next, add your game directories. Press the + icon in the lower right to navigate to the folder where your PS2 roms are located and select Use This Folder then Allow. You should now see your PS2 ROMS folder show in your game list.
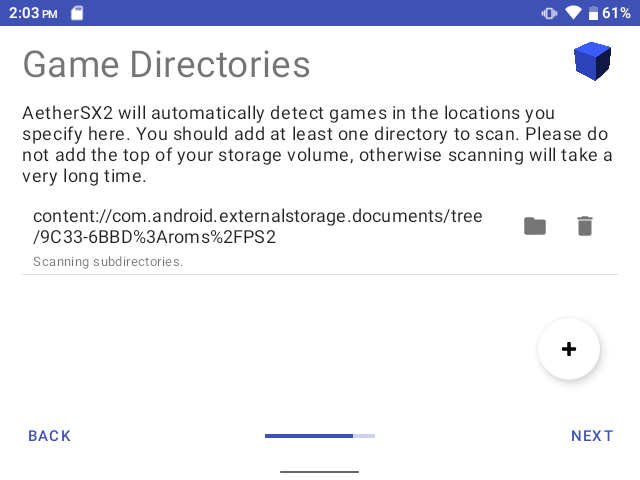
Last step is Setup Complete and Finish. At this point, the emulator should scan your directory and find all compatible games.
RG405M NetherSX2 specific settings
Now that you’ve completed the first time wizard, there are a few tweaks that should be done before jumping into your first game.
If you are using GammaOS, be sure to toggle Performance mode by pressing R3+L1+R1 to set the clock speed to maximum for the best emulation performance.
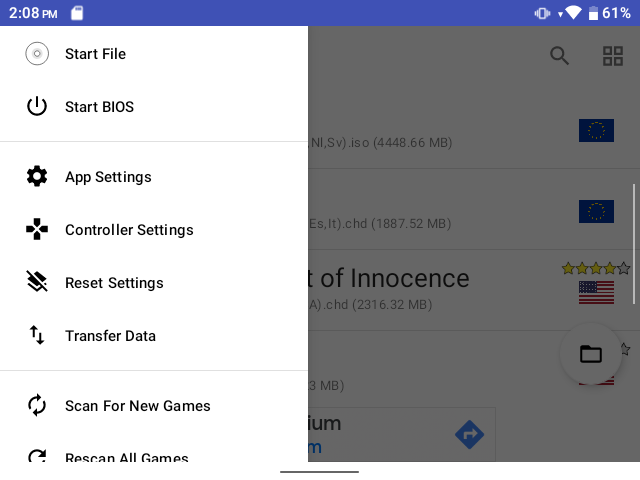
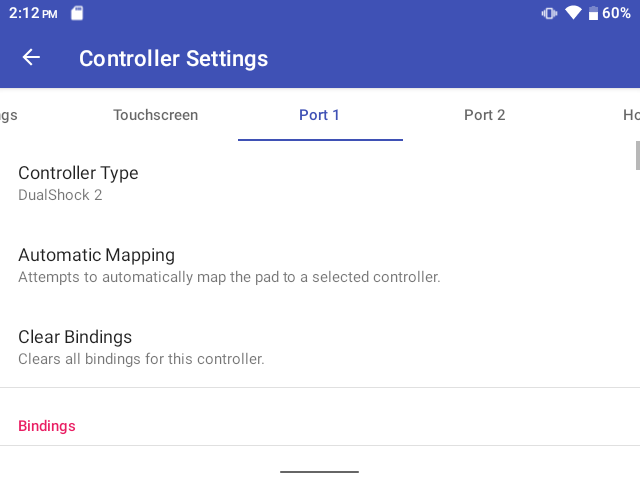
In the top left corner of the app you should see a hamburger menu (three horizontal lines) beside the words All Games. Press this icon to open the app menu and scroll down until you find Controller Settings
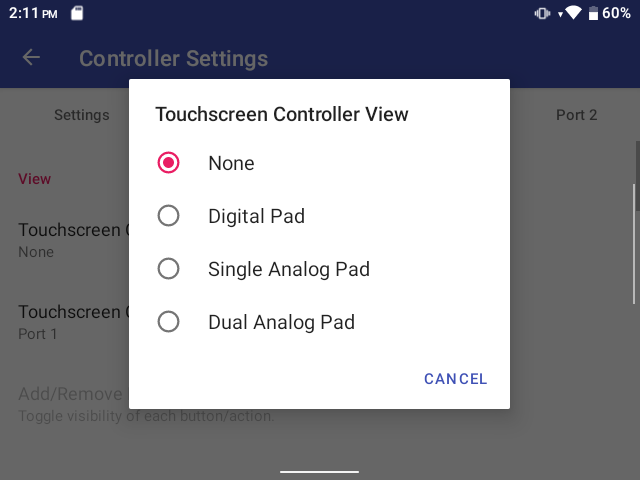
Under Controller Settings, open the Touchscreen tab and set the Touchscreen Controller View to None
Under the Port 1 tab, scroll down to the Bindings section and set the button mapping for each item.
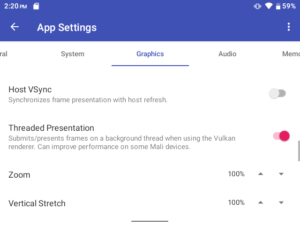
Next, go back to the main menu and open the App Settings item. Under the Graphics tab, set the GPU Renderer to Vulkan
Also under the Graphics Tab, scroll down to the Game Display section and Turn On Threaded Presentation
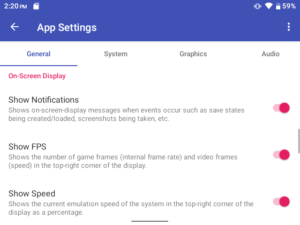
Optional: Under the General Tab, scroll down to On-Screen Display and Turn On Show FPS and Show Speed to see how well the game is running.
That’s it for your initial settings. With this basic setup you should be able to play a good number of PS2 games on your RG405M!
RG405M PS2 Tweaking
While the setup above will give you a good starting point for RG405M PS2 emulation, you will likely encounter games that don’t run at full speed and/or have audio stuttering or crackling. If this is the case, all hope is not yet lost on running this game as there are some tweaks that can be done that might be able to help get the game running.
While in a game that is not running at full speed, press the back button button to bring up the app settings.
In the top row you will find a number of icons to adjust settings, the most important of which is the icon which is the letter i in a dark circle. This allows you to adjust settings Per Game. Do not adjust the settings under the gear icon as these are your global settings and will change the default settings for all games!
Which settings to adjust is really going to be game specific and there are no magic settings which fix everything. Some games just won’t work no matter which settings you adjust and so you will just have to give up on it.
Having said that, here are some of my recommendations for settings to try tweaking in order of which settings will have the biggest payoff
Note that adjusting any of these settings may cause the game to not run as it would have on original hardware by either having a less smooth framerate or to run slower than original. Your tolerance for these changes will be a personal choice and really depend on how badly you want to play the game.
- Graphic Settings: Try setting Hardware Download Mode to Disable Readbacks or Disabled
- System Settings: Try setting the EE Cycle Skip to Mild Underclock (1) and progressively more underclock. This usually causes the game to attempt to render fewer frames causing it to be less smooth but hopefully run at full speed
- System Settings: Try setting the EE Cycle Rate to 75% (-1) or less. For some games, this has the effect of slowing down the entire game making it feel like slow motion.
- Graphic Settings: Try setting the GPU Render to OpenGL instead of Vulkan
Trying varying combinations of these settings as well as experimenting with other settings could render a few more games to be playable that didn’t work with the original settings.
Hopefully you found this guide helpful to getting started with the RG405M PS2 emulation. If you are looking for more guides on the RG405M, be sure to check out the links below.
More Reading..
-
RG405M Starter Guide
The RG405M is Anbernic’s answer to the successful Retroid Pocket 3+. In this RG405M starter guide, I will talk a…
-
RG405M Gamma OS Install Guide
In this RG405M Gamma OS install guide, I will walk you through the process of replacing the stock OS on…